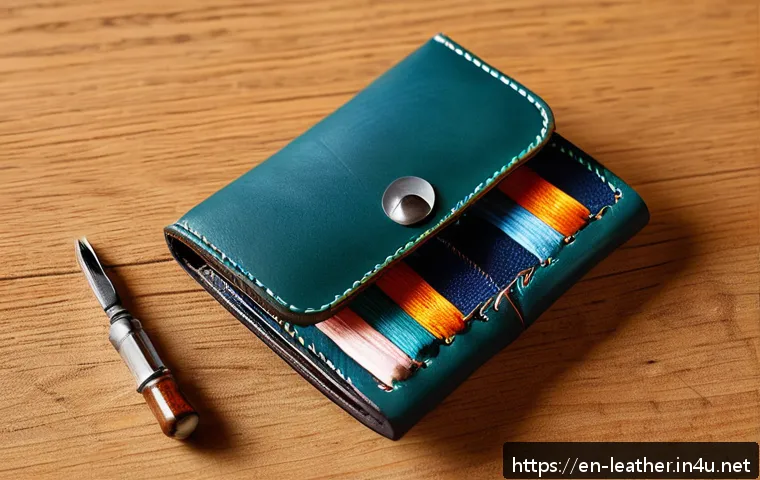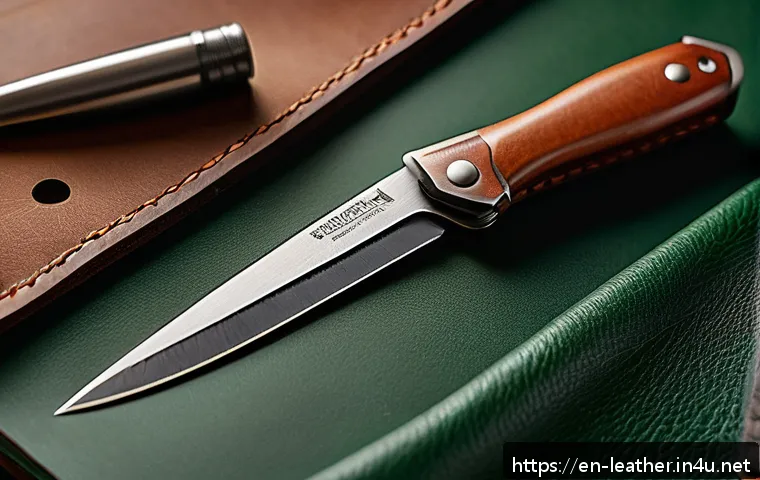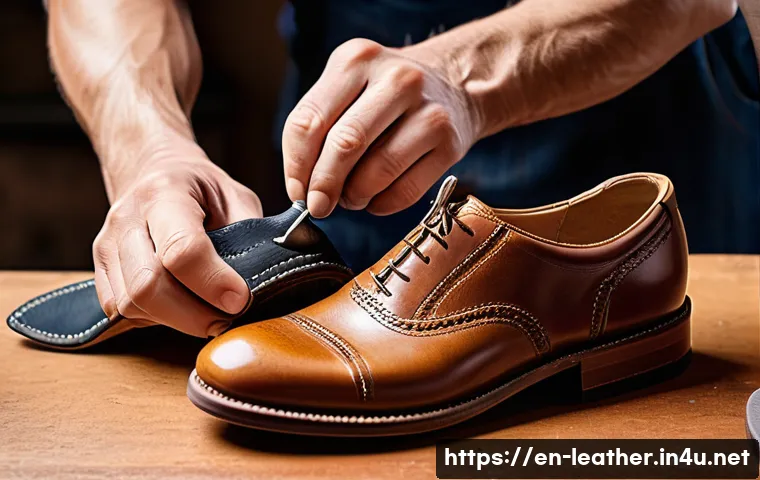
Crafting your own leather shoes is more than just a hobby—it’s an art form that combines creativity, precision, and patience. There’s something incredibly satisfying about transforming raw leather into a pair of custom-made shoes that fit perfectly and reflect your personal style.
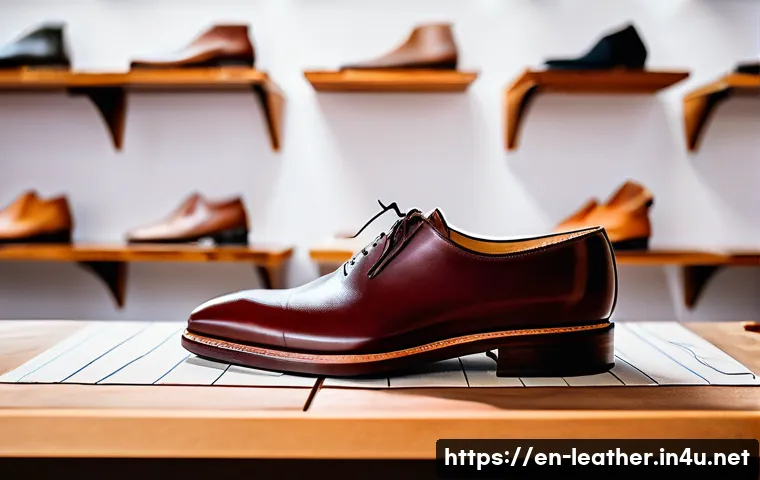
Whether you’re a seasoned artisan or a curious beginner, learning the techniques behind leather shoe making can open up a whole new world of craftsmanship.
Plus, with sustainable fashion gaining momentum, handmade leather shoes are becoming a timeless choice for those who value quality over quantity. Ready to dive into the step-by-step process and discover insider tips?
Let’s explore the details together!
Understanding Leather Selection and Preparation
Choosing the Right Leather for Durability and Comfort
Picking the perfect leather is the foundation of crafting shoes that last and feel great. Full-grain leather is often my go-to because it ages beautifully and develops a unique patina over time.
When I first started, I underestimated how different types of leather behave—top-grain leathers are smoother and easier to work with but can be less breathable, while corrected grain leathers are more affordable but lack character.
It’s essential to balance aesthetics with function. For instance, vegetable-tanned leather, though pricier, offers excellent moldability and will form nicely around your foot after wearing.
I recommend feeling the leather’s thickness and flexibility before committing—it really affects your shoe’s comfort and longevity.
Preparing the Leather: Conditioning and Cutting
Before cutting, I always condition the leather lightly to prevent cracking during shaping. This step is crucial and often overlooked by beginners. Using a natural leather conditioner, I gently rub it in with a soft cloth and let it absorb overnight.
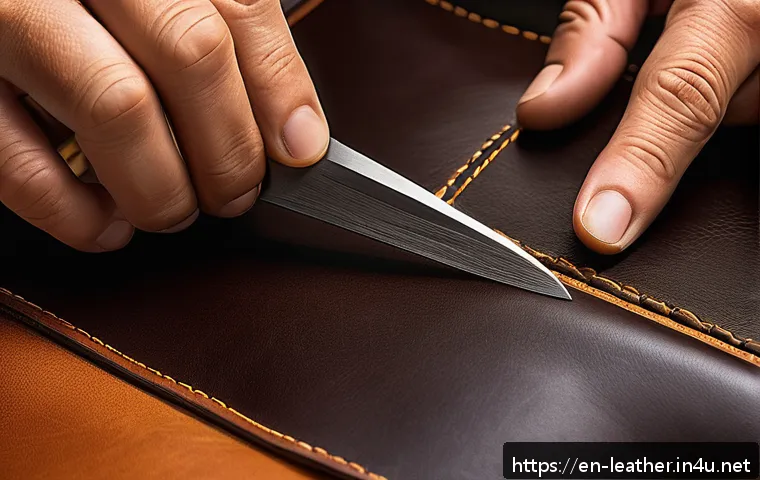
When it’s ready, I lay out my patterns and carefully cut the pieces with a sharp rotary cutter or leather scissors. Precision here is everything; even a slight miscut can throw off the entire shoe structure.
I learned this the hard way after wasting a few pieces. Marking with tailor’s chalk ensures clean lines, and double-checking the grain direction helps maintain the leather’s strength and flexibility.
Essential Tools and Workspace Setup
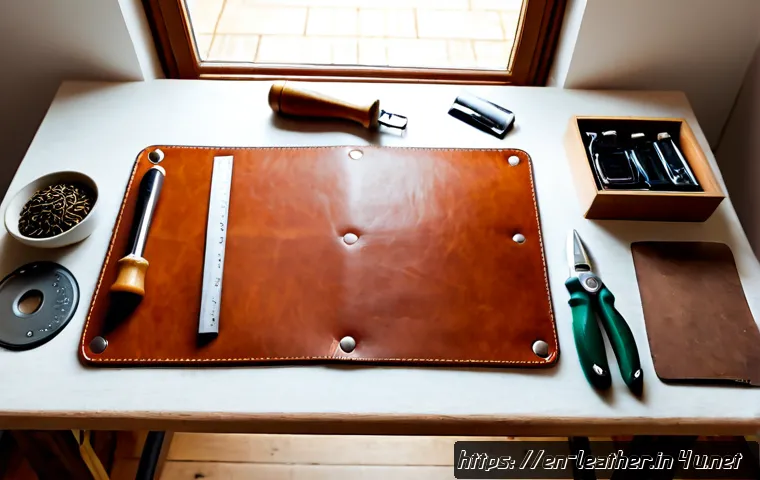
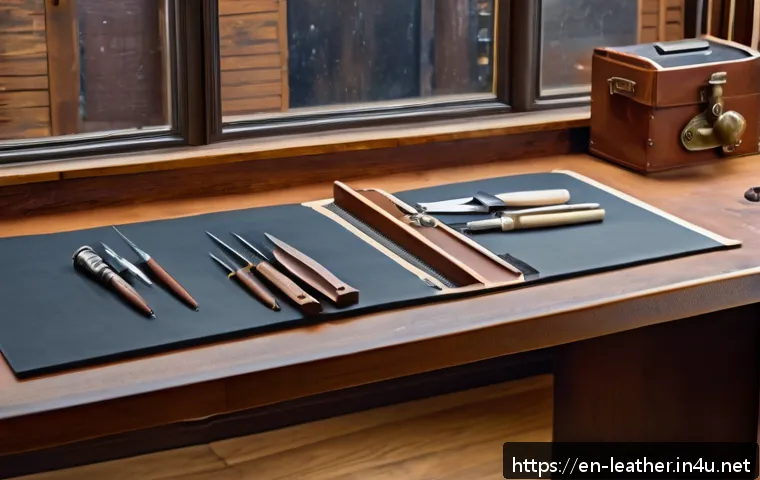
Having the right tools can transform the shoe-making process from a frustrating chore into an enjoyable craft. I keep a dedicated workspace with a sturdy cutting mat, awls for stitching holes, and a reliable stitching pony to hold my work steady.
One tool I find indispensable is a pair of edge bevelers, which smooth the edges for a professional finish. Investing in quality needles and waxed thread is a must—they’re the backbone of durable stitching.
Organizing your workspace with good lighting and ergonomic seating also makes a huge difference, especially during those long crafting sessions where focus and patience are key.
Mastering the Last and Pattern Making
Understanding the Role of the Last in Shoe Fit
The last is essentially the foot-shaped mold around which your shoe takes form. Getting familiar with lasts is a game-changer; I remember struggling with fit issues until I started customizing lasts that closely matched my foot shape.
They come in various widths, lengths, and arch heights, so choosing the right one for your design and foot profile is crucial. Some crafters even make their own lasts using 3D printing or wood carving, but starting with a standard last and modifying it slightly can work wonders.
The last influences everything from toe shape to heel height, so patience here pays off in comfort and style.
Drafting Patterns for Custom Designs
Pattern making feels a bit like solving a puzzle, and it’s where creativity meets precision. I begin by tracing the last’s outline and breaking down the shoe into panels—vamp, quarters, tongue, and so on.
Over time, I’ve learned to tweak patterns for different styles, such as loafers or brogues, adding decorative perforations or adjusting seam placements.
I prefer drafting patterns on sturdy paper before transferring them to leather to test fit and alignment. Taking time to refine these patterns reduces material waste and ensures the final shoe fits like a glove.
Adapting Patterns for Unique Foot Shapes
One of the perks of handmade shoes is tailoring them to your exact foot contours. For example, I have high arches and narrow heels, so I adjust my patterns by adding extra length to the vamp and tapering the heel counter.
This customization process involves trial fitting with a mock-up using cheaper leather or even thick fabric. Making these adjustments early saves frustration later.
I also keep detailed notes and photos of each iteration, which has helped me perfect my designs and speed up future projects.
Techniques for Stitching and Assembly
Hand Stitching vs. Machine Stitching
Hand stitching is where the soul of leather shoe making really shines. While machines speed up production, nothing beats the durability and character of hand-sewn stitches.
I personally enjoy the meditative rhythm of stitching by hand using a saddle stitch, which creates a stronger seam than a lock stitch. Using two needles and waxed thread, you pierce the leather from both sides, ensuring even tension and longevity.
That said, a good sewing machine with a heavy-duty leather needle can be a helpful tool for some parts, especially if you’re making multiple pairs or thicker soles.
Edge Finishing and Sole Attachment
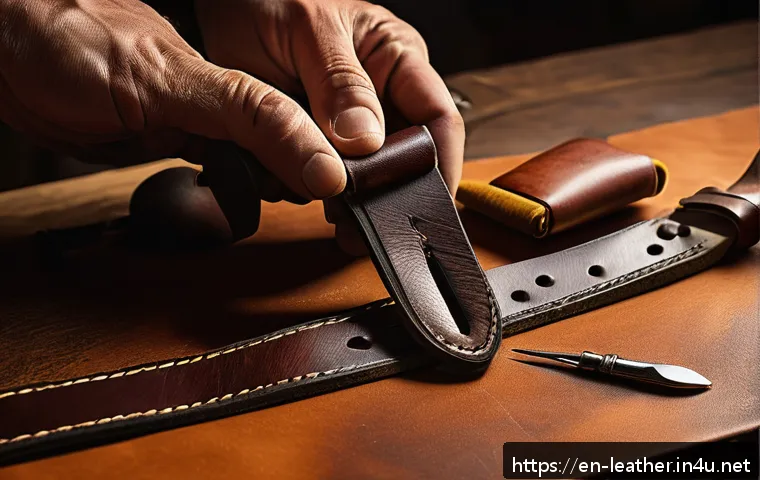
Finishing edges is an art in itself; raw edges can look rough and wear out quickly if left untreated. I use an edge beveler to round the edges, then burnish them with a slicker and some water or gum tragacanth.
This technique seals the leather fibers and creates a smooth, glossy finish that feels great to the touch. When attaching soles, I prefer using a combination of strong adhesive and hand stitching, known as the Goodyear welt method.
It might take longer, but the result is a shoe that can be resoled multiple times and withstand years of wear.
Common Stitching Mistakes and How to Avoid Them
One of the biggest challenges I faced was inconsistent stitch spacing and tension, which can lead to weak seams or puckering. To avoid this, I mark stitching lines carefully with an awl and use a stitching pony to hold the leather steady.
Pulling the thread too tight can deform the leather, while too loose leaves gaps, so finding the right balance is key. Another tip is to always backstitch at the beginning and end of your seams to lock the thread in place.
Practice on scrap pieces before moving to your actual shoe parts—it saved me from many frustrating errors.
Finishing Touches That Elevate Your Shoes
Polishing and Conditioning for Longevity
The final polish does more than just add shine—it protects the leather from moisture and wear. I usually apply a wax-based polish with a soft cloth, working it in small circular motions to build a rich luster.
Conditioning before polishing keeps the leather supple and prevents cracks, especially if the shoes will face harsh weather. Over time, I’ve found that regular maintenance extends the life of my handmade shoes far beyond what I expected.
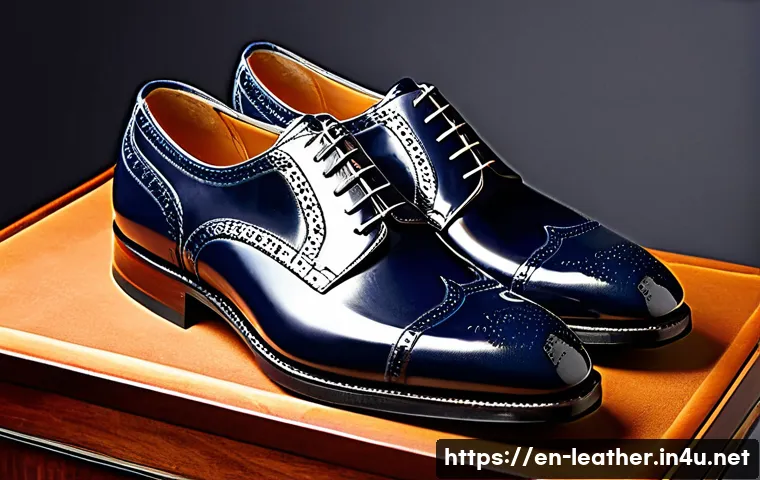
Plus, it’s rewarding to see them gradually develop a personalized patina that no factory shoe can replicate.
Adding Decorative Elements and Personalization
Custom shoes offer the perfect canvas for creativity. I’ve experimented with hand-stitched monograms, contrasting thread colors, and unique perforation patterns like broguing.
These details not only enhance visual appeal but also make each pair truly one of a kind. You can also play with different sole materials or add colored welt stitching for subtle flair.
If you’re gifting a pair, embossing initials or a meaningful symbol inside the shoe adds a heartfelt touch that recipients appreciate.
Proper Storage and Care Between Wears
To keep your handcrafted shoes in top shape, proper storage is essential. I always use cedar shoe trees to maintain shape and absorb moisture after wearing.
Avoid stacking shoes or leaving them in direct sunlight, which can dry out and fade the leather. Rotating your shoes regularly also helps prevent excessive wear.
Investing in a good shoe bag or box protects them from dust and accidental scratches. These small habits ensure your shoes look and feel great for years, rewarding the time and effort you put into making them.
Cost Breakdown and Time Investment
Material Costs Versus Mass-Produced Shoes
Handcrafting shoes means investing more upfront in quality materials and tools. While a pair of full-grain leather and quality soles can cost around $100 to $150, mass-produced shoes with synthetic components often fall below $50.
However, the handmade pair offers superior comfort, durability, and style that mass-market shoes rarely match. I’ve found that over time, the investment pays off because I don’t need to replace my shoes as often, and the satisfaction of wearing something crafted by my own hands is priceless.
Time Required for Each Stage
From start to finish, making a pair of leather shoes can take anywhere from 20 to 40 hours depending on complexity and skill level. Cutting and patterning may take a few hours, while stitching and assembly are more time-consuming.
Finishing touches like polishing and detailing add more hours but are crucial for a professional look. My first pair took well over 50 hours, but now I can complete a basic design in closer to 25 hours thanks to experience and better tools.
Comparing Techniques and Their Impact on Cost and Quality
Different shoemaking techniques directly affect both the price and durability of your shoes. For example, Blake stitching is faster and less expensive but doesn’t allow resoling, whereas Goodyear welt construction is labor-intensive but produces shoes that can be resoled multiple times.
Hand stitching increases labor costs but results in superior strength. Below is a summary of common shoemaking methods and their key attributes.
| Technique | Cost | Durability | Resoling Ability | Typical Use |
|---|---|---|---|---|
| Blake Stitch | Low | Moderate | No | Casual and dress shoes |
| Goodyear Welt | High | High | Yes | Premium leather shoes |
| Hand Stitching | High | Very High | Yes | Custom and bespoke shoes |
| Cemented Sole | Low | Low | No | Budget footwear |
Tips for Beginners to Avoid Common Pitfalls
Starting Small and Building Skills Gradually
Jumping straight into complex shoe designs can be overwhelming. When I began, I started with simple slip-ons or moccasins to get a feel for leather handling and stitching before moving on to more structured shoes.
This approach allowed me to build confidence and skills without frustration. Patience is key—don’t rush through steps or skip practice on scrap leather.
Each small project teaches valuable lessons that carry over to more advanced work.
Learning from Mistakes and Embracing Imperfections
No handmade shoe will be perfect on the first try, and that’s part of the charm. I’ve made countless errors, from uneven stitches to misaligned soles, but those moments became my best teachers.
Instead of getting discouraged, I analyze what went wrong and adjust techniques. Sharing your work with a community or mentor can provide helpful feedback and motivation.
Remember, each flaw adds character and uniqueness that factory shoes lack.
Resources and Communities to Support Your Journey
Finding reliable resources can accelerate your learning curve. I recommend investing in a few well-reviewed shoemaking books and online tutorials that explain techniques in detail.
Joining forums or local leathercraft groups also provides access to experienced artisans who can answer questions and offer tips. Attending workshops, when possible, gives hands-on experience that’s invaluable.
Surrounding yourself with supportive fellow crafters makes the journey enjoyable and helps you stay motivated through challenging projects.
Conclusion
Crafting leather shoes is a rewarding journey that combines skill, patience, and creativity. From selecting the right materials to mastering stitching techniques, every step shapes a unique and durable product. Whether you’re a beginner or an experienced maker, embracing the process and learning from each project will elevate your craftsmanship. Ultimately, handmade shoes offer unmatched comfort and personal satisfaction that mass-produced options simply can’t replicate.
Useful Tips to Keep in Mind
1. Always test leather flexibility and thickness before starting to ensure comfort and durability.
2. Take your time with pattern making and cutting to avoid costly mistakes.
3. Practice hand stitching on scrap leather to develop even tension and consistent spacing.
4. Use quality tools and maintain an organized workspace to improve efficiency and results.
5. Regularly condition and polish your shoes to extend their lifespan and maintain their appearance.
Key Takeaways
Choosing the right leather and preparing it properly lays the foundation for durable and comfortable shoes. Understanding the last and customizing patterns ensures a better fit tailored to individual foot shapes. Hand stitching, while time-consuming, provides superior strength and character to your footwear. Finishing touches like edge burnishing and proper sole attachment not only enhance aesthetics but also longevity. Lastly, patience and continuous learning are vital—each mistake is an opportunity to improve and create truly unique handmade shoes.
Frequently Asked Questions (FAQ) 📖
Q: What basic tools do I need to start making my own leather shoes?
A: To get started with crafting your own leather shoes, you’ll want to gather a few essential tools. These typically include a sharp utility knife or rotary cutter for precise leather cutting, a set of leather needles and strong thread for stitching, a hammer for setting rivets or nails, edge bevelers to smooth the leather edges, and a sturdy shoe last to shape your shoe properly.
I found that investing in quality tools upfront really makes the process smoother and the results more professional. Don’t forget some glue and finishing supplies like polish or wax to give your shoes that polished, wearable look!
Q: How long does it usually take to make a pair of leather shoes by hand?
A: The time it takes can vary quite a bit depending on your experience level and the complexity of the shoe design. For beginners, expect to spend anywhere from 15 to 25 hours on a single pair because you’re learning each step carefully and taking your time to get things right.
More seasoned shoemakers might complete a pair in around 8 to 12 hours. I remember my first pair took me almost three days of focused work, but the satisfaction of wearing something I made myself was totally worth it.
As you practice, you’ll naturally get faster and more efficient.
Q: Is handmade leather shoe making environmentally friendly compared to buying mass-produced shoes?
A: Absolutely, handmade leather shoes can be a much more sustainable choice. When you craft shoes yourself, you control the materials and waste, often opting for high-quality, vegetable-tanned leather that lasts longer and ages beautifully.
Mass-produced shoes frequently rely on synthetic materials and fast fashion cycles, which contribute to environmental pollution and waste. From my experience, investing time and care into handmade shoes means you’re creating durable footwear that can be repaired and cherished for years, significantly reducing your carbon footprint compared to buying cheap, disposable shoes.