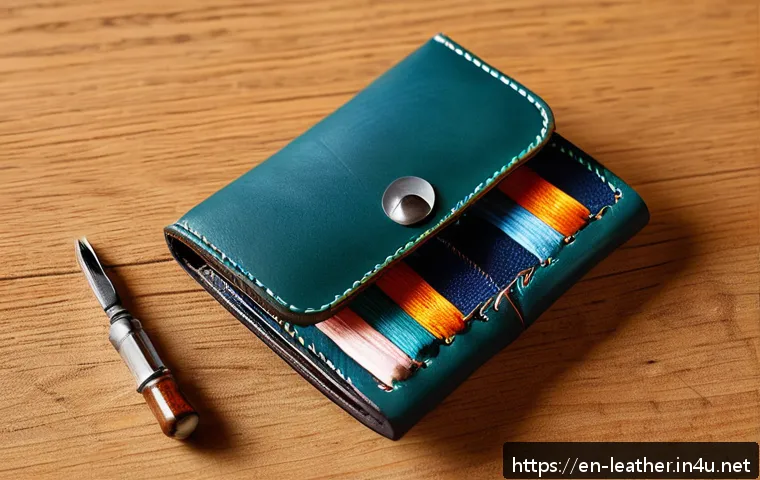
Lately, the surge in DIY culture has inspired many to explore hands-on crafts that blend creativity with practicality. Crafting a custom leather wallet is not just a rewarding hobby but also a timeless skill that lets you carry a piece of your personality every day.
If you’ve ever admired the sleek elegance of leather goods and wondered how to make one yourself, you’re in the right place. This beginner-friendly guide will walk you through each step, turning a simple idea into a personalized accessory.
Stick around, and you’ll discover insider tips and tricks that make the process enjoyable and achievable, even if you’ve never worked with leather before.
Ready to dive into the world of leathercraft? Let’s get started!
Selecting the Right Leather and Tools for Your Wallet
Understanding Leather Types and Their Characteristics
When diving into leathercraft, the type of leather you choose sets the foundation for your wallet’s durability and look. Vegetable-tanned leather is popular among beginners because it’s sturdy, develops a beautiful patina over time, and responds well to tooling if you want to add designs.
On the other hand, chrome-tanned leather offers flexibility and a softer touch but may not age as gracefully. I personally prefer vegetable-tanned leather for wallets because it feels more authentic and holds up well to everyday use.
Thickness matters too—typically, 2 to 3 ounces (about 0.8 to 1.2 mm) is ideal for wallets since it balances structure with ease of stitching.
Essential Tools to Kickstart Your Leather Wallet Project
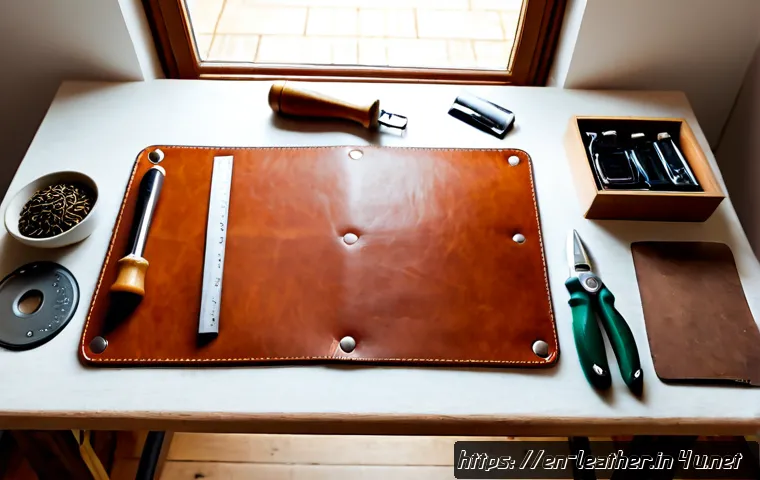
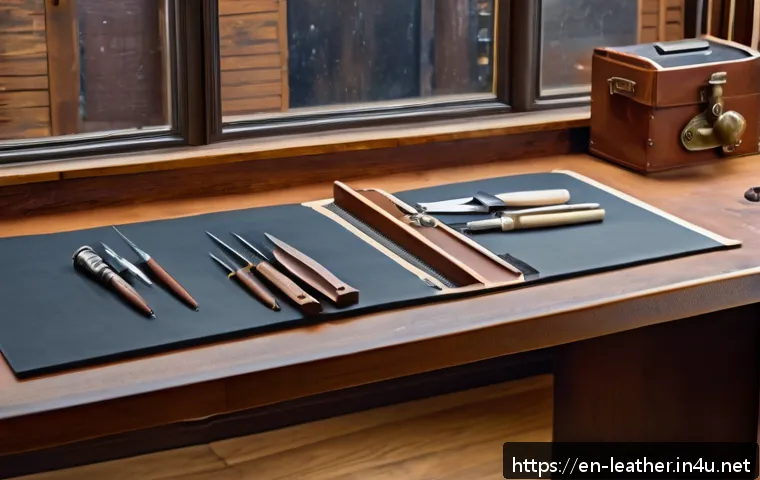
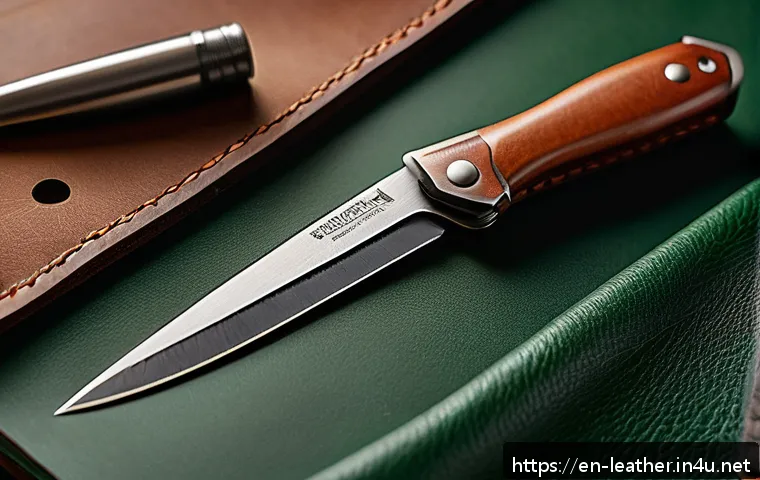
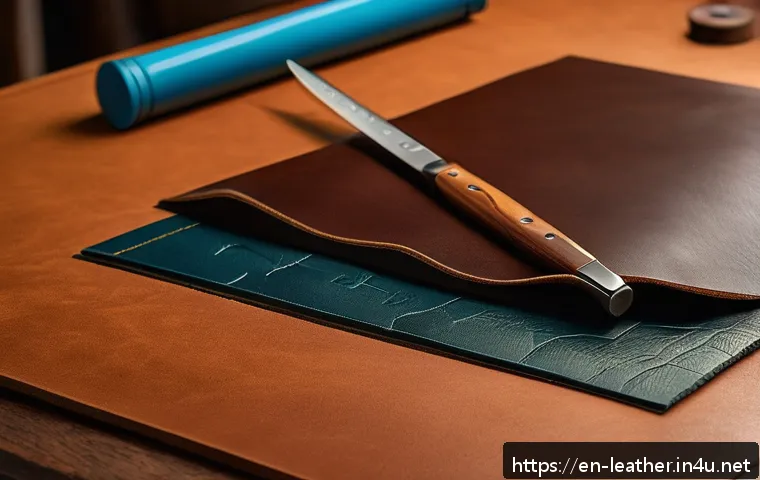
Having the right tools makes a massive difference in your crafting experience. At a minimum, you’ll need a sharp utility knife or rotary cutter for precise cuts, a sturdy cutting mat to protect your surfaces, and a ruler for accurate measurements.
Stitching tools like an awl and needles are critical too—using a stitching chisel helps punch even holes, making sewing less of a headache. I learned early on that investing in a quality leather edge beveler and burnisher pays off, as they give your wallet a polished, professional finish that’s impossible to replicate with cheap tools.
Where to Find Leather and Supplies
Sourcing materials can feel overwhelming initially, but there are plenty of reliable online shops specializing in leathercraft supplies. Look for vendors who provide detailed descriptions and customer reviews; this saves you from surprises like receiving overly stiff or thin leather.
Local craft stores might carry some basics, but online leather suppliers often have a broader selection. I recommend ordering a small leather sample pack first to test different textures and colors before committing to a larger purchase—it’s a small step that can prevent costly mistakes.
Cutting and Preparing Leather Pieces
Measuring with Precision for a Balanced Wallet
Accurate measurements are crucial in leather crafting, especially for wallets where each pocket and fold matters. Start by sketching your wallet layout on paper, marking dimensions for card slots, bill compartments, and the outer shell.
I usually draft a template on cardstock first to get a feel for the size in my hand, adjusting as needed before transferring it to leather. Remember, leather isn’t forgiving with mistakes, so double-check every measurement before cutting.
Tips for Clean and Straight Cuts
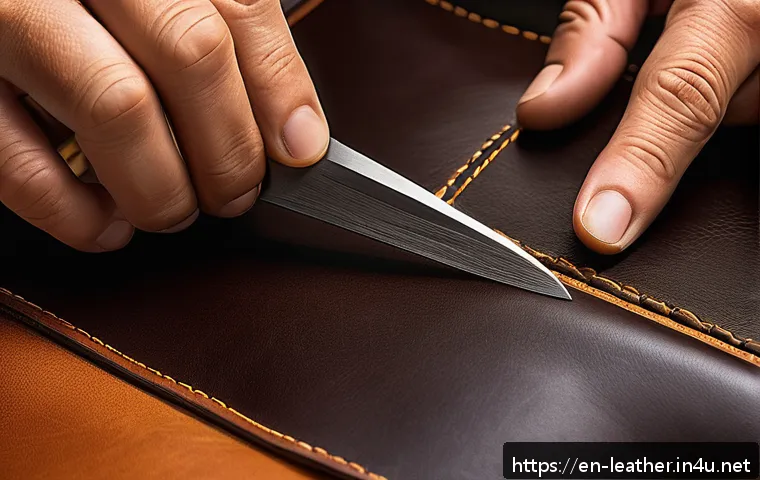
Cutting leather neatly can be intimidating at first, but with patience and the right technique, it becomes manageable. Use a sharp blade, and don’t rush—slow, steady strokes yield cleaner edges.
I like to use a metal ruler as a guide, pressing it firmly against the leather to avoid slips. Cutting on a self-healing mat protects your tools and work surface, and changing blades frequently keeps cuts smooth.
If your leather is thick, multiple light passes are better than forcing a single deep cut.
Edge Finishing Basics
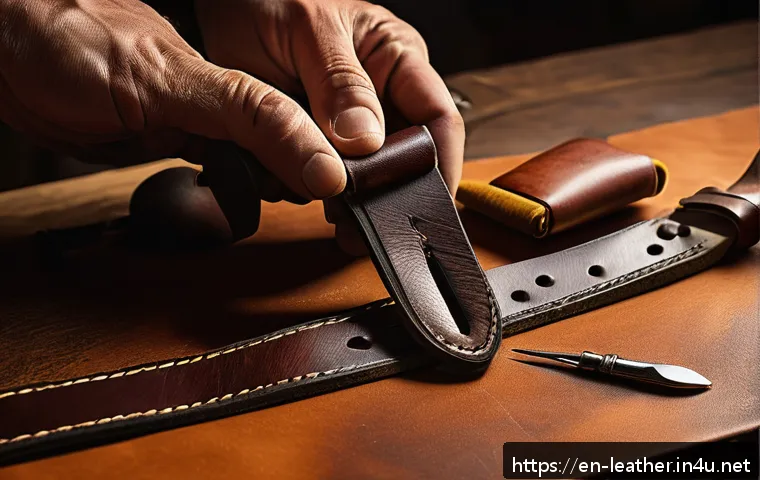
Once your pieces are cut, prepping the edges is a game-changer for wallet durability and appearance. Beveling removes the sharp corners, making edges softer and easier to burnish.
Burnishing involves rubbing the edges with a slicker or bone folder and a bit of water or gum tragacanth to seal and smooth them. This step might seem minor but trust me, it elevates your wallet from “handmade” to “professional grade” in no time.
Mastering the Stitching Process
Choosing Between Hand Stitching and Machine Stitching
Leather wallets are traditionally hand-stitched, which adds character and strength, but some makers opt for sewing machines for speed. Hand stitching, especially the saddle stitch, creates a durable seam that won’t unravel easily.
It requires patience and practice but is incredibly satisfying. I started with hand stitching and found it therapeutic, plus it lets you customize thread colors and tension.
If you have access to a heavy-duty sewing machine designed for leather, it can speed things up but might lack the charm of hand-stitched details.
Step-by-Step Guide to Saddle Stitching
Saddle stitching involves two needles working in tandem through the same holes, locking the thread in place. First, punch evenly spaced holes along the edges using a stitching chisel or pricking iron.
Thread two needles and start from one end, passing them through each hole from opposite sides. Pull the threads tight but not too tight to avoid puckering.
This method might feel fiddly at first, but once you get into rhythm, it becomes second nature. I always keep extra thread handy because running out mid-stitch is frustrating.
Tips for Thread Selection and Maintenance
Waxed polyester thread is a favorite among leathercrafters for its durability and water resistance. Thicker threads (around 0.6 mm) are suitable for wallets, providing visible stitches that enhance the aesthetic.
I recommend waxing your thread even if it’s pre-waxed—this reduces friction and strengthens the stitches. Store your thread in a dry place to prevent mildew and keep it tangle-free by winding it neatly after each project.
Designing Functional and Stylish Wallet Features
Planning Card Slots and Compartments
A wallet’s functionality depends largely on how well its compartments fit your lifestyle. Think about how many cards you carry daily and whether you prefer a slim wallet or one with space for receipts and coins.
I usually design mine with three to four card slots and a full-length bill compartment. To maximize space, overlapping card slots slightly works well, but be mindful of the leather’s thickness as too many layers can bulk up the wallet.
Adding Personal Touches with Embossing or Stitch Patterns
Customizing your wallet with embossed initials, logos, or decorative stitch patterns adds a unique flair. If you have access to stamping tools, vegetable-tanned leather takes impressions beautifully.
Alternatively, playing with contrasting thread colors or decorative stitching techniques can make your wallet stand out. I once gifted a wallet with a subtle leaf pattern embossed on the flap, and it was a huge hit—personalization always makes these projects feel more special.
Balancing Style and Durability
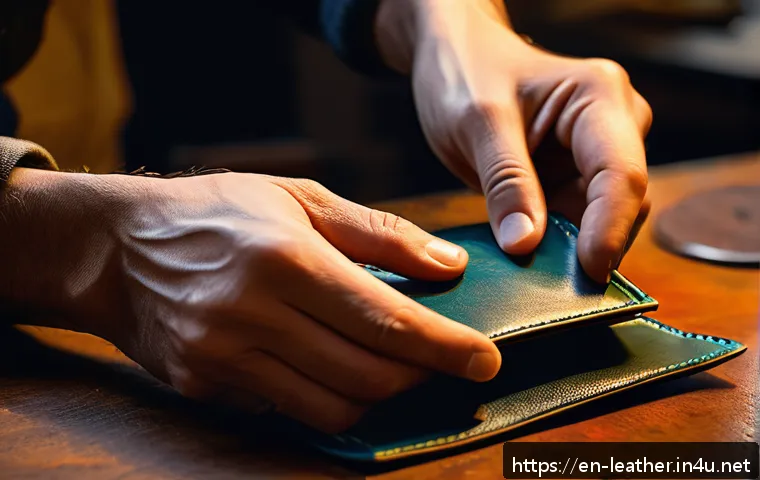
While aesthetics matter, don’t sacrifice durability for looks. For example, avoid overly intricate designs in stress areas like fold lines or edges. Reinforce high-wear spots with extra stitching or rivets if necessary.
I’ve learned through trial and error that a wallet that looks good but falls apart quickly defeats the purpose. Aim for clean lines, quality stitching, and thoughtful design to get a wallet that’s both beautiful and built to last.
Assembling Your Wallet Step by Step
Layering and Gluing Leather Pieces
Before stitching, you’ll want to glue the pieces to keep everything aligned. Use a leather-specific contact cement or PVA glue sparingly—too much can cause the leather to warp or stick unevenly.
I apply glue with a small brush, pressing pieces together firmly and allowing them to set for a few minutes before stitching. This keeps your wallet from shifting during sewing, which is crucial for clean seams.
Folding and Shaping the Wallet
Some wallets require folding the leather, especially bi-fold or tri-fold designs. Before folding, slightly dampen the leather to make it more pliable but not soaking wet.
Using a bone folder to crease fold lines helps achieve sharp, professional-looking edges. I always test folds on scrap leather first to get a feel for how much moisture and pressure to apply.
This step transforms flat pieces into a functional shape and sets the wallet’s overall feel.
Final Stitching and Quality Checks
Once all pieces are glued and folded properly, it’s time for the final stitching. Take your time—rushing this step can lead to uneven seams or missed stitches.
After stitching, trim any excess thread and burnish the edges one last time. Inspect your wallet for any weak spots or glue residue and clean it up if necessary.
I usually give my finished wallet a light coat of leather conditioner to nourish the leather and enhance its natural beauty.
Maintaining and Caring for Your Handmade Wallet
Cleaning and Conditioning Tips
Leather needs regular care to stay supple and attractive. Wipe your wallet with a dry or slightly damp cloth to remove surface dirt. For deeper cleaning, use a leather cleaner suited to your leather type.
Conditioning every few months prevents cracking and maintains flexibility. I’ve found that natural oils like mink oil or beeswax-based conditioners work wonders but test on a small area first to avoid discoloration.
Protecting Your Wallet from Wear and Tear
Avoid overstuffing your wallet, as it stretches the leather and strains seams. Keep it away from water and extreme heat, which can damage the material.
If your wallet gets wet, let it air dry naturally—never use direct heat sources. I keep a small leather protector spray handy to add a water-resistant layer, especially during rainy seasons.
These small habits prolong the life of your wallet significantly.
Repairing Minor Damages at Home
Small scratches or scuffs can be buffed out gently with a soft cloth or leather balm. For loose stitches, I recommend re-stitching with matching thread to maintain integrity.
If a rivet or snap comes loose, replacement kits are available online and usually straightforward to install. I once fixed a minor tear by applying leather glue and reinforcing the area with stitching—simple repairs like these keep your wallet looking fresh without the need for expensive professional fixes.
| Material | Characteristics | Recommended Thickness | Best Use |
|---|---|---|---|
| Vegetable-Tanned Leather | Durable, develops patina, good for tooling | 2-3 oz (0.8-1.2 mm) | Wallets, belts, accessories |
| Chrome-Tanned Leather | Soft, flexible, less aging patina | 1.5-3 oz (0.6-1.2 mm) | Softer wallets, garments |
| Waxed Polyester Thread | Strong, water-resistant, easy to work with | Approx. 0.6 mm | Hand stitching wallets and bags |
| Contact Cement Glue | Strong bond, flexible after drying | N/A | Bonding leather pieces before stitching |
Conclusion
Creating a handmade leather wallet is a rewarding journey that combines skill, creativity, and patience. Choosing quality materials and mastering each step—from cutting to stitching—ensures a durable and stylish final product. With practice, your craftsmanship will improve, and each wallet will carry a unique story and character. Enjoy the process as much as the result, and take pride in your handcrafted creation.
Helpful Tips
1. Always test your leather samples before committing to a large purchase to ensure the texture and thickness meet your needs.
2. Invest in quality tools early on; they make the crafting process smoother and improve the final finish of your wallet.
3. Take your time with measurements and cutting—precision prevents costly mistakes and enhances the wallet’s overall look.
4. Regularly condition your leather wallet to maintain its suppleness and prevent cracking over time.
5. Practice hand stitching techniques like the saddle stitch to add strength and a personalized touch to your wallets.
Key Takeaways
Selecting the right leather and tools lays the foundation for a successful wallet project. Prioritize vegetable-tanned leather for durability and aesthetic appeal. Precision in measuring and cutting is essential to avoid wasted material and ensure a balanced design. Hand stitching, especially saddle stitching, provides both strength and character, so mastering it is worth the effort. Finally, caring for your finished wallet will extend its life and keep it looking great for years to come.
Frequently Asked Questions (FAQ) 📖
Q: uestions about DIY Leather Wallet CraftingQ1: What basic tools do I need to start making a leather wallet at home?
A: To begin crafting your own leather wallet, you’ll want to gather a few essential tools. At minimum, you’ll need a sharp utility knife or rotary cutter for precise cuts, a cutting mat to protect your surfaces, a metal ruler for straight edges, leather glue for temporary holds, needles and waxed thread for stitching, and edge bevelers or sandpaper to smooth the leather edges.
While some specialized tools like stitching chisels or mallets can make the process smoother, they aren’t mandatory for beginners. I found that starting with these basics allowed me to focus on technique without overwhelming myself with equipment.
Q: How do I choose the right leather for my first wallet project?
A: Selecting the right leather is crucial and depends on your preferences for durability, appearance, and ease of work. For beginners, vegetable-tanned leather is often recommended because it’s firm yet pliable, and it develops a beautiful patina over time.
It’s easier to cut and stitch compared to chrome-tanned leather, which tends to be softer but can be slippery. Thickness matters too — around 3-4 oz leather strikes a good balance between sturdiness and flexibility for wallets.
When I started, I picked a medium-thickness veg-tan piece, and it made shaping and stitching much more manageable.
Q: How long does it typically take to complete a handmade leather wallet?
A: The time required varies based on your skill level and the wallet’s complexity, but for a beginner, expect to spend anywhere from 4 to 8 hours spread over a couple of days.
This includes cutting the leather, preparing edges, gluing pieces, stitching, and finishing touches like edge burnishing. I remember my first wallet took me nearly a full weekend because I was learning as I went, but the process was enjoyable and rewarding.
With practice, you’ll naturally speed up, and future projects might only take a few hours. The key is to be patient and savor each step.