In today’s world where handmade artistry is making a remarkable comeback, mastering leathercraft offers a unique blend of tradition and personal expression.
Whether you’re a seasoned artisan or just starting out, honing your skills can transform simple pieces into timeless treasures. With rising interest in sustainable, handcrafted goods, knowing the essential techniques can set your creations apart in a crowded market.
I’ve personally found that a few key tips not only improve quality but also make the process more enjoyable and rewarding. Stick around, and I’ll share insights that have truly elevated my leather projects, helping you craft with confidence and style.
Choosing the Right Leather for Your Project
Understanding Different Types of Leather
Not all leather is created equal, and picking the right type can make or break your project. Vegetable-tanned leather, for instance, offers a natural finish and molds beautifully over time, ideal for wallets and belts.
Chrome-tanned leather is softer and more water-resistant, making it perfect for bags and upholstery. When I first started, I used whatever scraps were available, but once I learned to match leather types with project needs, the quality and longevity of my pieces improved dramatically.
It’s worth investing time to explore the nuances of full-grain, top-grain, and bonded leather to understand how each behaves under tools and wear.
Thickness and Its Impact on Crafting
Thickness isn’t just about durability; it affects flexibility, stitching ease, and final appearance. Thinner leather, around 1-2 ounces, is great for intricate work like small pouches or detailed tooling, while thicker leather, 6 ounces and above, provides structure for belts or heavy-duty bags.
I remember struggling with thick leather early on—it was tough to punch holes and sew without the right tools. Once I started using a precise thickness gauge and selecting leather accordingly, my workflow became smoother and my finished products looked more professional.
Leather Sources and Sustainability Considerations
Sourcing leather ethically and sustainably is a growing priority among artisans and buyers alike. I prefer working with leather that’s a byproduct of the food industry, ensuring minimal waste.
There are also innovative vegetable-tanned and chrome-free options emerging that reduce environmental impact. Supporting local tanneries or suppliers who adhere to sustainable practices not only helps the planet but often results in superior quality leather with unique character.
It’s something I always keep in mind when purchasing materials, as it aligns with the values behind handcrafted work.
Mastering Essential Leathercraft Tools
Must-Have Tools for Beginners and Beyond
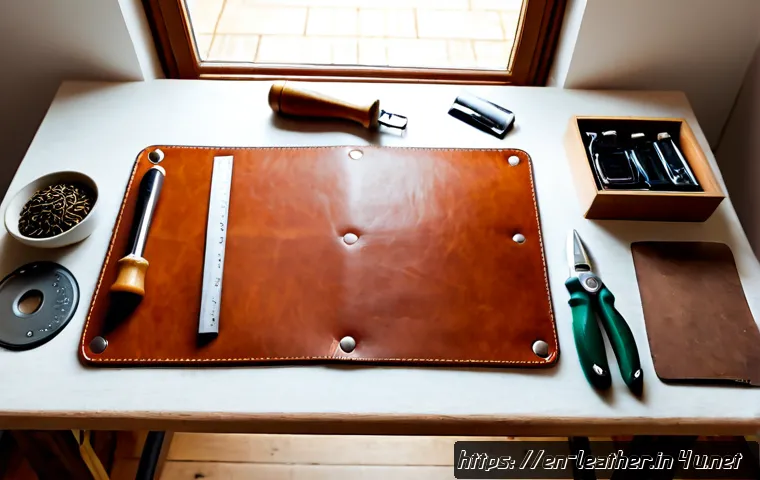
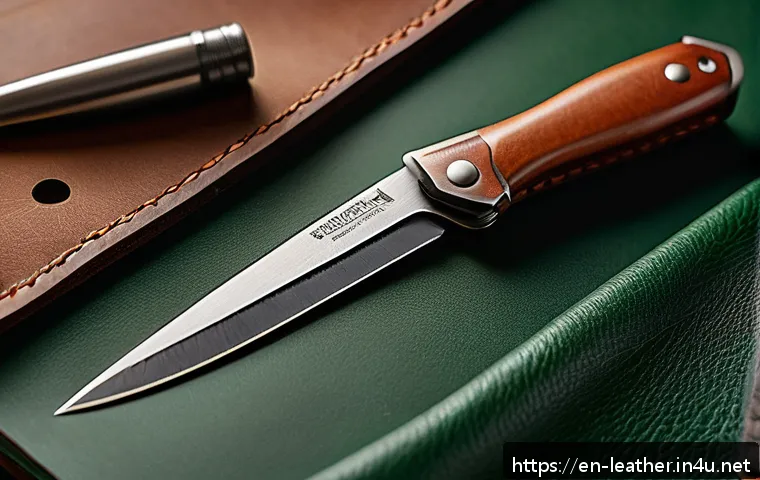
Starting with the right tools can be overwhelming, but a basic kit typically includes a rotary cutter, stitching needles, an edge beveler, and a mallet.
I recommend investing in quality over quantity; for example, a well-made swivel knife can greatly improve your cutting precision, which was a game-changer for me.
Over time, you’ll add specialized tools like stitching chisels and burnishers, but beginning with a solid foundation helps build confidence and reduces frustration.
Tool Maintenance and Longevity
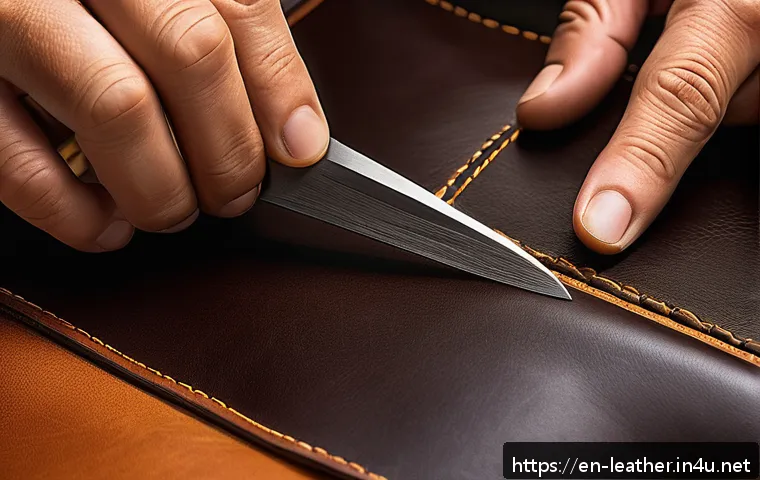
Leathercraft tools are an investment, and keeping them sharp and clean extends their life and performance. I learned to sharpen my knives and chisels regularly using whetstones and strops, which keeps cuts clean and prevents tearing.
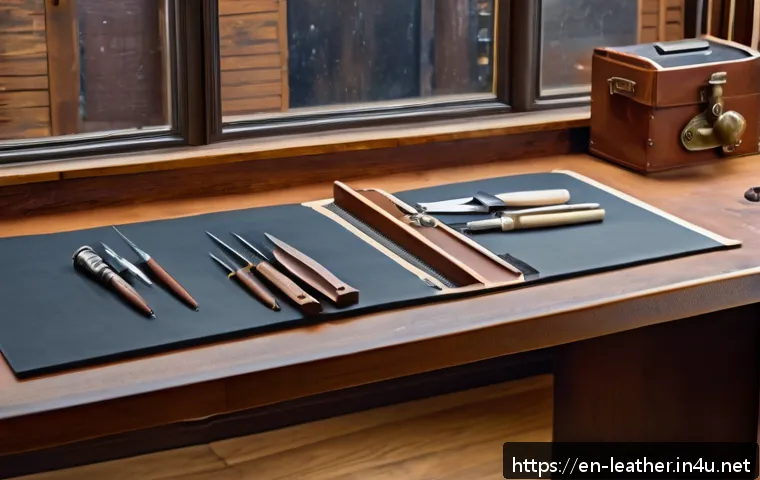
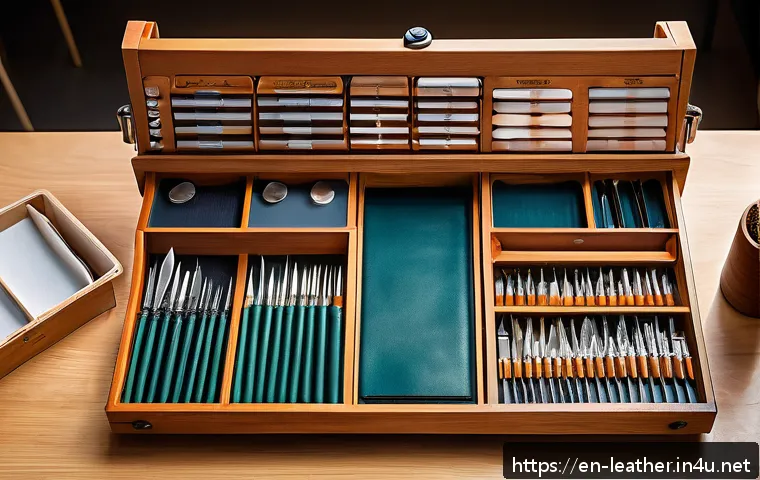
Neglecting this step often led to uneven edges and stitches that didn’t sit right. Also, storing tools in a dry, organized case prevents rust and damage.
Proper care has saved me money and improved the quality of every piece I’ve made.
Ergonomics and Comfort During Work
Leatherworking can be physically demanding, especially when you’re punching holes or stitching by hand. Using ergonomic handles or cushioned grips on your tools can reduce fatigue and strain.
Early on, I ignored this and ended up with sore hands after long sessions. Adding wrist supports and taking regular breaks changed everything, making the craft more enjoyable and sustainable for my workflow.
Techniques to Elevate Stitching Quality
Hand Stitching vs. Machine Stitching
While machines speed up production, hand stitching remains the gold standard for durability and aesthetic. I’ve tried both, but hand stitching gives a personal touch that machines can’t replicate.
Using a saddle stitch method creates a strong seam that won’t unravel, even if one thread breaks. It requires patience and practice, but the result is worth the effort.
For beginners, I suggest starting with a simple two-needle saddle stitch to build muscle memory.
Choosing the Right Thread and Needles
Thread type impacts both strength and appearance. Waxed polyester threads are popular for their durability and water resistance, while natural linen threads offer a traditional look but may wear faster.
Needle size should match your leather thickness; for thicker hides, bigger needles reduce effort and prevent damage. In my experience, experimenting with different combinations helped me find what works best for each project, enhancing both function and style.
Consistent Stitch Spacing and Tension Control
Even, spaced stitches contribute to a polished look and structural integrity. Using a stitching chisel or pricking iron helps maintain uniform spacing.
I used to eyeball this, resulting in uneven lines that distracted from the overall design. Controlling thread tension is equally important—too tight, and leather puckers; too loose, and seams look sloppy.
Finding that balance took time, but it’s essential for producing pieces that feel as good as they look.
Finishing Techniques for Professional Results
Edge Treatment Methods
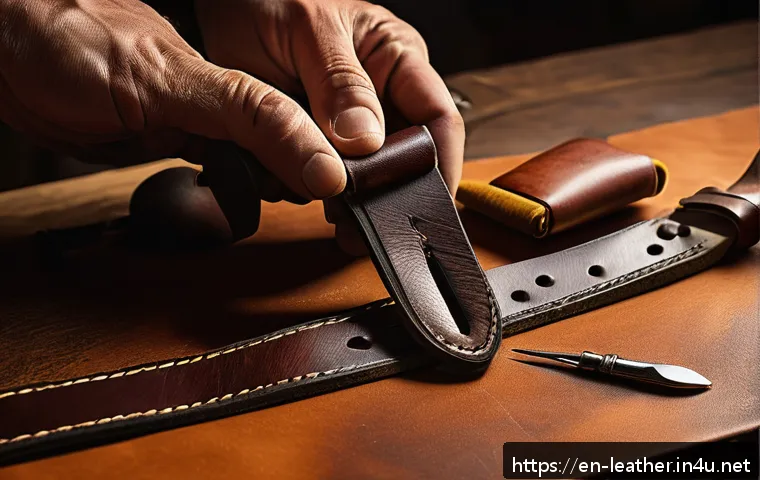
Edges are the first thing people notice, and a smooth, polished edge speaks volumes about craftsmanship. Beveling edges with a specialized tool removes sharp corners, and then burnishing with water or gum tragacanth creates a glossy, sealed finish.
I recall a project where I skipped proper edge finishing, and the rough edges aged poorly, detracting from the piece’s appeal. Taking the time to sand, bevel, and burnish edges adds a professional touch that customers truly appreciate.
Applying Conditioners and Sealants
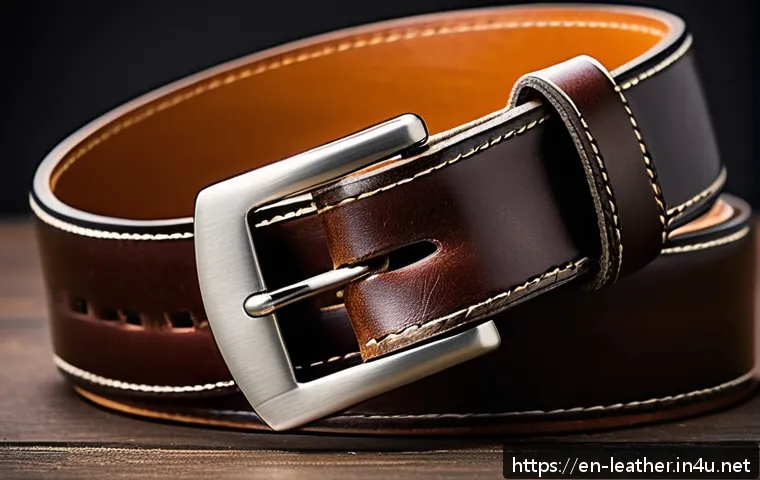
Leather needs protection from moisture and wear, and applying conditioners keeps it supple and vibrant. I use natural beeswax-based balms or neatsfoot oil depending on the leather type.
Sealants provide an additional layer of defense, especially for items exposed to the elements. Using these products regularly has kept my leather projects looking new for years and enhanced their durability, which is a big selling point when customers ask about longevity.
Adding Decorative Finishes
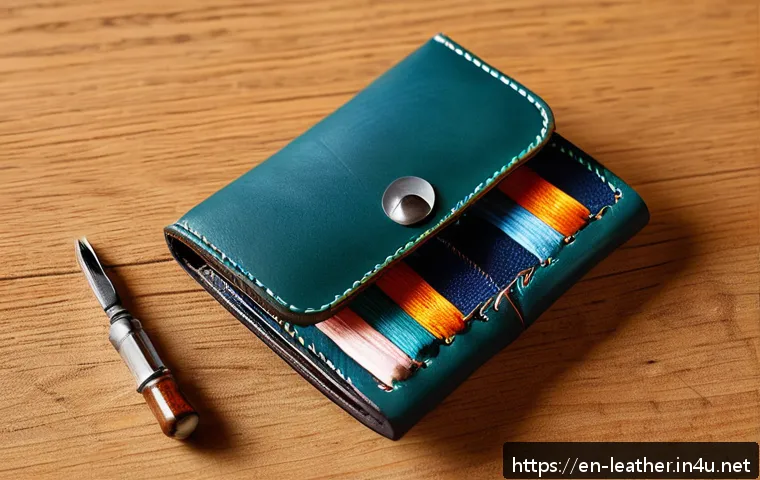
Embossing, stamping, or dyeing can personalize your work and make it stand out. I’ve found that subtle tooling designs or contrasting stitches add character without overwhelming the piece.
Experimenting with different dyes and finishes requires testing on scraps to avoid surprises. Decorative finishes are a way to express creativity while also increasing the perceived value of your items.
Organizing Your Workspace for Efficiency
Setting Up a Dedicated Leathercraft Station
Having a specific area to work on leathercraft helps maintain focus and organization. I carved out a corner of my garage with a sturdy workbench, good lighting, and storage for tools and materials.
This setup prevents loss of small items like rivets or needles and speeds up the crafting process. A clutter-free, well-organized space also reduces frustration and makes it easier to dive into projects whenever inspiration strikes.
Storage Solutions for Materials and Tools
Leather hides and scraps need proper storage to avoid damage from moisture or pests. I use breathable fabric bags and flat storage racks to keep leather in good condition.
Tools are organized by function in labeled containers or magnetic strips, which saves time when searching for the right item. A tidy workspace not only boosts productivity but also protects your investment in quality materials and equipment.
Workflow Tips to Maximize Productivity
Planning your steps from cutting to finishing can reduce wasted time and materials. I start with sketching patterns, then batch cut multiple pieces before moving on to stitching or tooling.
Grouping similar tasks minimizes tool changes and keeps momentum going. Also, keeping a project journal helps track what worked well and what needs improvement, gradually refining your process for better outcomes.
Understanding Leathercraft Cost and Pricing Strategies
Calculating Material and Labor Costs
Pricing handmade leather goods fairly while staying competitive is a balancing act. I learned to factor in the cost of leather, hardware, tools depreciation, and my time.
Underpricing can undervalue your work and lead to burnout, while overpricing might scare off customers. Breaking down costs per piece clarifies profit margins and helps justify your prices confidently during sales or negotiations.
Market Research and Competitive Analysis
Knowing what others charge for similar items in your niche informs pricing decisions. I regularly browse artisan marketplaces and local shops to see trends and customer preferences.
Understanding your target audience’s willingness to pay and the quality standards in your segment allows you to position your products effectively, whether aiming for budget-friendly or premium markets.
Strategies to Increase Perceived Value
Adding unique features, customizations, or premium packaging can justify higher prices. I’ve noticed that customers appreciate storytelling around the craft and materials used, which enhances emotional connection and willingness to invest.
Offering repair services or limited editions also boosts perceived value and encourages repeat business.
| Aspect | Considerations | Impact on Project |
|---|---|---|
| Leather Type | Vegetable-tanned, chrome-tanned, full-grain, top-grain | Durability, finish, flexibility |
| Tool Quality | Sharpness, ergonomic design, maintenance | Precision, ease of use, longevity |
| Stitching Method | Hand saddle stitch, machine stitching, thread type | Strength, appearance, durability |
| Edge Finishing | Beveling, burnishing, sealing | Professional look, protection |
| Workspace Organization | Dedicated station, storage, workflow planning | Efficiency, material preservation |
| Pricing Strategy | Material/labor cost, market research, value addition | Profitability, customer appeal |
In Conclusion
Choosing the right leather and tools, mastering stitching techniques, and organizing your workspace are key to creating beautiful, durable leather goods. With attention to detail and thoughtful finishing, your projects will not only look professional but also stand the test of time. Remember, patience and practice turn every piece into a work of art. Keep refining your skills and enjoy the rewarding journey of leathercraft.
Helpful Tips to Keep in Mind
1. Always match the leather type and thickness to your project’s purpose for the best results.
2. Invest in quality tools and maintain them regularly to ensure precision and ease during crafting.
3. Practice consistent stitch spacing and tension control to create strong, attractive seams.
4. Properly finish edges and apply conditioners to protect and enhance your leather pieces.
5. Organize your workspace efficiently to improve productivity and preserve your materials.
Key Takeaways for Successful Leathercraft
Understanding the properties of different leathers and selecting the right materials are fundamental to quality craftsmanship. Equally important is using well-maintained, ergonomic tools that support your workflow without causing fatigue. Hand stitching with the correct thread and needle size elevates durability and aesthetics. Finally, finishing touches like edge treatment and conditioning not only protect your work but also add a professional polish that customers appreciate. Thoughtful pricing strategies based on costs and market insight ensure your efforts are fairly rewarded.
Frequently Asked Questions (FAQ) 📖
Q: uestionsQ1: What are the essential tools I need to start leathercrafting as a beginner?
A: Starting leathercraft doesn’t require a massive investment, but having the right tools makes a huge difference. At minimum, you’ll want a sharp utility knife or rotary cutter, a cutting mat, a set of leather needles, strong thread like waxed polyester, and some basic punches for holes.
I found that investing in a quality stitching pony and edge beveler early on really elevated the finish of my projects. These tools help you work more precisely and comfortably, making the learning curve less frustrating.
Q: How can I improve the durability and appearance of my handmade leather goods?
A: From my experience, the key to durability lies in both preparation and finishing. Always condition your leather before working with it to keep it supple and resistant to cracking.
When stitching, use tight, even stitches and double back at stress points to prevent unraveling. For appearance, burnishing the edges with a slicker or even just some gum tragacanth gives your pieces that polished, professional look.
Lastly, applying a quality leather finish or wax protects your work and enhances its natural beauty over time.
Q: What are some tips for making leathercrafting more enjoyable and less time-consuming?
A: I used to get overwhelmed trying to perfect every detail, but I learned that pacing myself and embracing the process makes a big difference. Break projects into smaller steps and celebrate each milestone.
Working in a well-lit, organized space with music or a podcast can make the time fly by. Also, don’t hesitate to experiment with different techniques or tools—sometimes a new approach can spark creativity and reduce frustration.
Remember, every piece you make is a unique learning experience that gets better with practice.