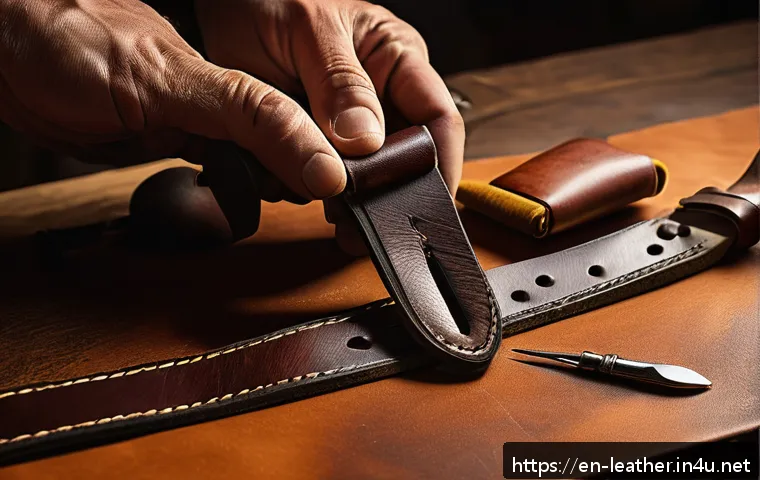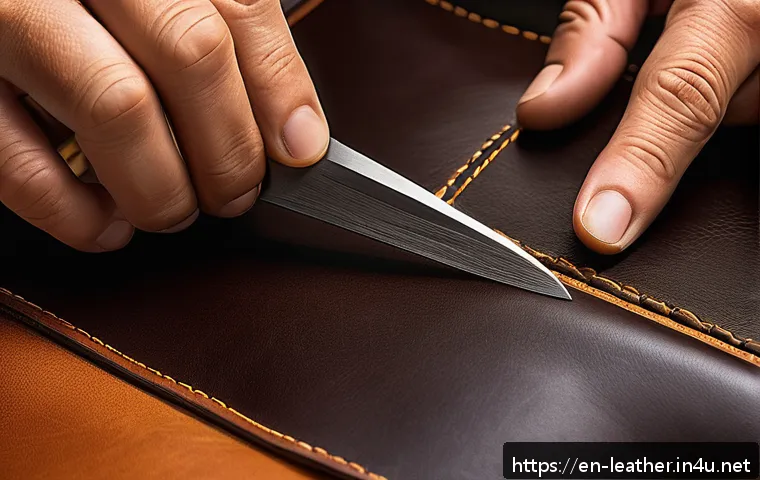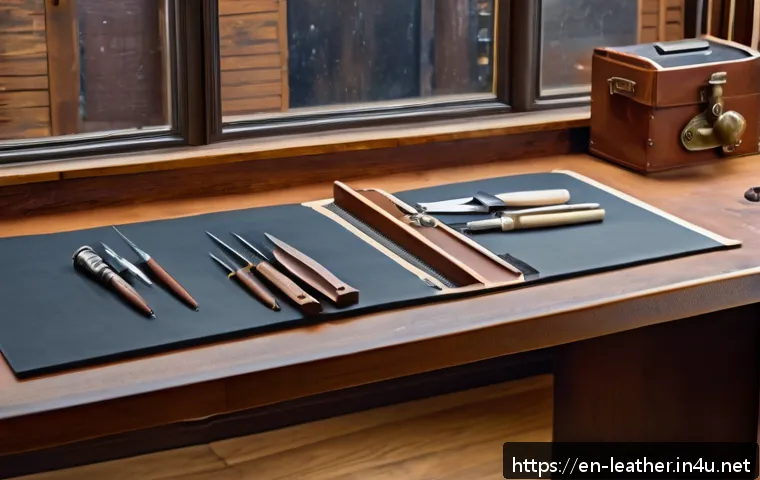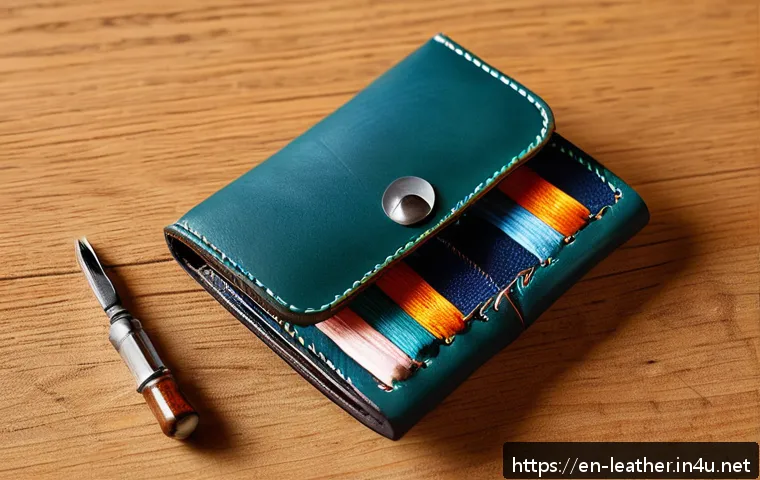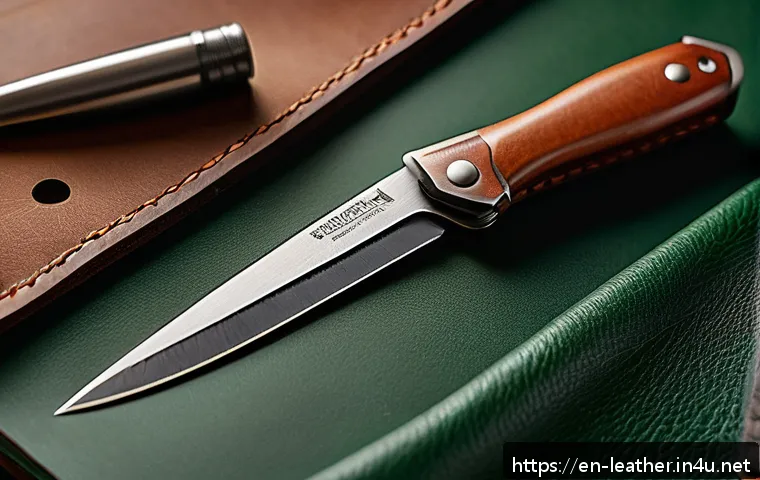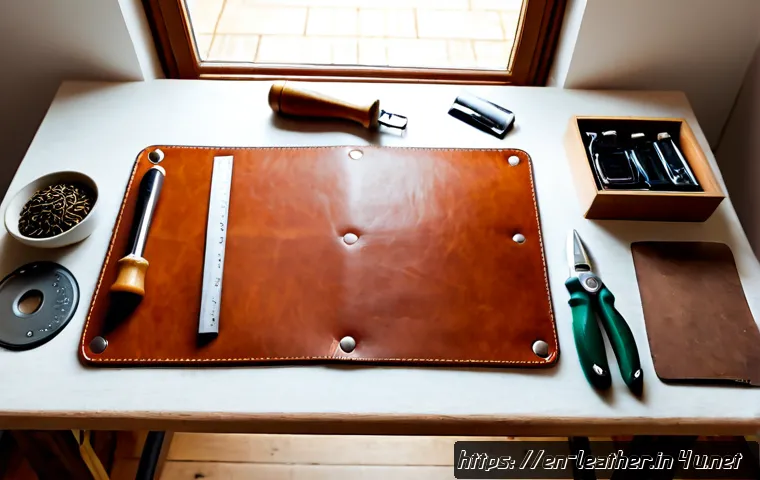
Start with a small, product-focused setup: sharp cutting tools, stitching tools, edge-finishing supplies, and materials matched to one item type. Test simple products such as keychains, card holders, or wallets before buying full hides, large hardware assortments, or expensive specialty tools.
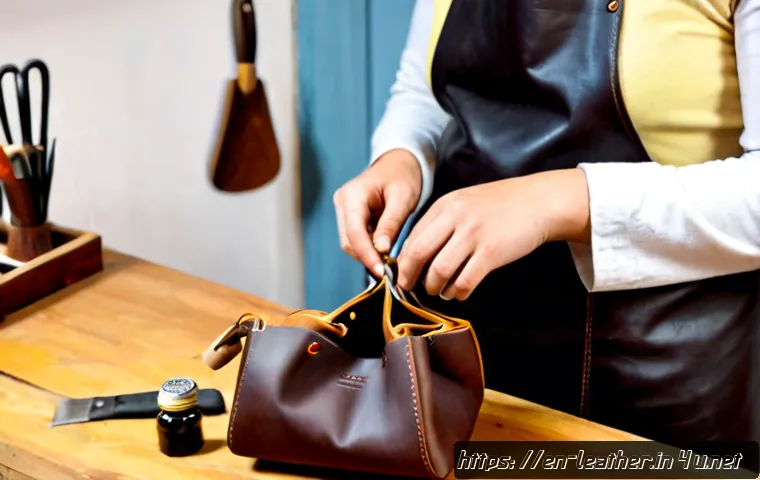
A starter kit can reduce the number of early purchases, while individually selected tools may be easier to replace and upgrade as your standards rise.
The right choice depends on your product plan, available workspace, and whether you are validating demand or preparing for repeatable small-batch production.
Do not treat leather, packaging, photography, shipping supplies, and e-commerce platform fees as afterthoughts; they can all affect the margin on handmade goods.
Buy for consistency first, then upgrade only when a tool or material is limiting your workflow.
At a Glance
- Start with one small product category and buy tools that support its exact construction.
- Choose vegetable-tanned leather for tooling, stamping, molding, and patina; consider chrome-tanned leather when you need flexibility.
- Keep early spending focused on cutting, stitching, edge finishing, and product-ready materials rather than large inventory orders.
| Buying Route | Best For | Limitations | Replacement Considerations | Upgrade Path |
|---|---|---|---|---|
| Leatherworking starter kit | Learning the basic workflow and testing simple small goods | May include tools you do not use or tools that do not match your preferred product style | Replace individual pieces when cutting, stitching, or finishing quality becomes inconsistent | Upgrade the most-used tools first, especially cutting and stitching tools |
| Individually selected tools | Makers with a clear first product, such as belts, wallets, or card holders | Requires more research before purchasing | It is easier to identify which tool needs replacement or improvement | Add specialized punches, edge tools, and hardware setters only when the product line requires them |
What You Actually Need Before Selling Your First Leather Item
You do not need a fully equipped studio to make a first sale. You do need a repeatable basic process: cut accurately, assemble securely, finish visible edges, and present the item clearly. For small leather goods, those fundamentals usually matter more than owning every decorative stamp or specialty punch.
A Minimum Viable Setup for Small Leather Goods
A practical first setup includes a sharp cutting tool, a protected cutting surface, a way to mark and create stitching holes, needles, thread, adhesive suited to the intended use, and basic edge-finishing supplies. Add hardware installation tools only if your design uses snaps, rivets, or buckles. Good lighting and a stable work surface also help you spot uneven cuts, missed stitches, and unfinished edges before an item reaches a customer.
Tools to Buy First, Borrow, or Postpone
Buy the tools that affect every unit you make. Sharp cutting tools, proper edge finishing, and consistent stitching are visible quality signals on handmade leather goods. Borrow or postpone tools that only serve a single decorative technique or a product you have not tested. A specialized tool can be worthwhile later, but it should solve a real production issue rather than create another category of unused equipment.
Why Product Choice Should Come Before a Large Supply Order
A card holder, belt, keychain, wallet, and small bag have different leather, hardware, and construction needs. Leather thickness is commonly measured in ounces in the United States, and the suitable weight depends on the product and how it is built. Decide what you will make first, create a sample, and then choose leather panels, hides, thread, and hardware around that sample.
Build a Starter Tool and Material Budget That Matches Your Product Plan
Your startup budget is not only a leather craft tool budget. It is a working budget for materials, consumables, selling, and fulfillment. The exact amount depends on your product range, supplier pricing, workspace access, used versus new tools, and local requirements.
Starter Kit vs. Individual Tools: Value, Quality, and Replacement Considerations
A starter kit can make sense when you need a broad introduction to leatherworking without selecting every item separately. It may be less useful when you already know you will make one focused product, because included tools may not fit your workflow. With individually selected tools, compare the tool’s intended purpose, replacement availability, and whether it supports your preferred product dimensions and construction method.
Core Cost Categories Beyond Tools and Leather
Track hardware, thread, adhesives, finishes, packaging, shipping materials, transaction fees, and platform fees from the beginning. Product photography equipment or simple lighting may also deserve a place in the plan because clear photos help customers assess handmade work online. These costs can materially affect your margin even when the leather itself seems affordable.
When Premium Tools Can Save Time and Reduce Waste
A premium tool is easier to justify when it improves a process you repeat often. For example, a more reliable cutting or stitching tool may reduce wasted leather and uneven results. Do not assume that a higher-priced tool is automatically right for your project. Compare its intended use, maintenance needs, and compatibility with your materials before committing.
Choose Leather, Hardware, and Consumables for the Items You Plan to Sell
Material selection should follow the product’s shape, flexibility, closure method, and finishing plan. A leather description alone is not enough; the item must also feel and function as expected after construction.
Matching Leather Type and Weight to Wallets, Belts, and Small Accessories
Vegetable-tanned leather is commonly chosen for tooling, stamping, molding, and developing a patina over time. It can suit products where structure and surface work are central to the design. Chrome-tanned leather is widely used for softer bags, wallets, garments, and projects that need flexible leather. For belts, wallets, card holders, keychains, and small bags, select the leather weight according to the item’s construction rather than treating one thickness as universal.
Thread, Needles, Edge Paint, Burnishing Supplies, and Adhesives
Thread and needles need to suit your stitching method and the material thickness. Your edge approach also matters: some projects use burnishing supplies, while others may use edge paint. Adhesives and finishes should be selected only after checking the manufacturer’s instructions and intended use. Test them on offcuts before applying them to finished inventory.
Hardware Compatibility: Snaps, Rivets, Buckles, and Installation Tools
Hardware needs to fit both the leather thickness and the product’s function. A snap, rivet, or buckle can look correct but still be incompatible with the installation tool or construction layers. Before placing a bulk order, make a complete sample using the exact hardware, leather, and setter you plan to use. This is one of the simplest ways to avoid inventory that cannot be used together.
Set Up a Safe, Efficient Small Workshop
A small workshop can be effective when it has a clear order: measure, cut, prepare, stitch, finish, inspect, and pack. The goal is not a large space. It is a space where you can work safely and repeat the same process without losing materials or skipping checks.
Cutting Surfaces, Lighting, Storage, and Dust Management
Use a cutting surface that protects both your table and your blade. Keep leather, thread, hardware, and finished goods separated so loose hardware and dust do not damage surfaces. Strong, even lighting makes it easier to inspect stitching lines, edge quality, and leather marks before you photograph or ship an item.
Ventilation and Handling Precautions for Adhesives, Dyes, and Finishes
Adhesives, dyes, and finishes may have handling instructions from their manufacturers. Read those instructions, work with appropriate ventilation, and store products carefully. Do not assume one product is suitable for every leather type or finish. Confirm intended use before applying it to sellable goods.
Simple Workflow Changes That Improve Consistency
Create a short checklist for each item: confirm leather pieces, verify hardware, inspect stitching, finish edges, check dimensions, and photograph the final product. Grouping similar tasks can also help, such as cutting several pieces before stitching. Consistency becomes easier when the sequence is written down instead of remembered differently each time.
Avoid the Buying Mistakes That Make Handmade Goods Harder to Profit From
Many early problems come from buying too broadly before a product is proven. A careful first order can give you samples, production practice, and customer-ready items without tying up resources in materials that do not match your eventual line.
Ordering Too Much Leather Before Testing a Product
Full hides may be useful once your design and material choice are stable, but smaller panels can be easier to manage during product testing. Compare supplier samples before committing to bulk hides. Check color, temper, surface character, thickness, and how the leather behaves during cutting, folding, stitching, and finishing.
Using Low-Quality Hardware or Mismatched Installation Tools
Do not judge hardware only by appearance. Test whether it works with your leather layers and whether the correct installation tool is available. A mismatched snap or rivet can create avoidable failures and wasted leather. Keep a note of the exact hardware and setter used for each successful design.
Forgetting Packaging, Photography, Shipping, and Selling Fees
Handmade goods need more than a finished product. Packaging protects the item, shipping materials support fulfillment, and product photos communicate value before a buyer can touch the leather. Include clear dimensions, leather descriptions, and care guidance in your listings. Also review e-commerce platform fees and payment-related charges as part of your product pricing process.
Selection Criteria and Comparison Summary
Choose your first setup by answering a few practical questions before comparing leather suppliers, tool bundles, and selling platforms:
Best Setup for a Low-Risk Product Test
Choose a simple item with limited hardware, such as a keychain or card holder. Buy enough matching leather and consumables to make samples and a small run, not an oversized inventory. A focused starter kit or a small set of individually selected essentials can both work if they support clean cutting, stitching, and edge finishing.
Best Setup for Repeatable Small-Batch Production
Once a product is consistent, prioritize tools and materials that support repeatability. Keep the same leather specifications, thread, hardware, packaging, and workflow notes for each batch. Upgrade a tool when it meaningfully improves speed, accuracy, waste reduction, or the finished appearance of the product.
Checklist Before Comparing Suppliers, Tool Bundles, and Selling Platforms
1. Is the leather type and weight appropriate for the product? 2. Do the hardware and installation tools work together? 3. Have you included consumables, packaging, shipping materials, and platform fees? 4. Can you produce clear product photos and accurate descriptions? 5. Have you tested samples before ordering bulk materials? Review official product details, supplier sample options, and platform fee conditions on the relevant pages before purchasing.
Closing Thoughts
A leather goods business can begin with a compact, deliberate setup rather than a large tool collection. Start with one product, learn its material requirements, and document the process that gives you reliable results. The visible details—clean cuts, even stitching, finished edges, and clear listing information—can matter more than a long list of tools. Build your supply list around what you can make consistently, then expand when demand and workflow justify it.
Useful Information to Keep in Mind
Leather samples: Useful for testing color, feel, thickness, and finishing before a larger order.
Product descriptions: Include dimensions, leather details, and care guidance so buyers understand what they are purchasing.
Photography: Clear images help communicate craftsmanship, color, and product scale.
Replacement planning: Record which tools and consumables are used most often so future upgrades are purposeful.
Important Notes
Startup cost, supplier pricing, local taxes, business registration, sales-tax registration, labeling rules, and insurance needs vary by location and business model. Check local requirements and current provider terms before selling. Also verify manufacturer instructions before using a particular adhesive, dye, finish, or leather treatment on products intended for customers.
Frequently Asked Questions
Q1. How much should I budget to start a small leather goods business?
A1. There is no single reliable amount because it depends on your product range, tool condition, workspace access, local taxes, supplier pricing, and whether you buy new or used equipment. Build a category-based list that includes tools, leather, hardware, consumables, packaging, shipping materials, photography needs, and selling fees.
Q2. Is a leatherworking starter kit enough to sell handmade wallets or keychains?
A2. It can be enough for learning and testing simple products if the kit supports accurate cutting, stitching, and edge finishing. Inspect whether its tools fit your planned construction, and replace or upgrade individual tools when they limit consistent results.
Q3. What type of leather is best for beginners making products to sell?
A3. The best choice depends on the product. Vegetable-tanned leather is commonly used for tooling, stamping, molding, and patina development. Chrome-tanned leather is widely used where flexibility is important, including softer bags and many wallets. Test a sample with your exact design before purchasing more material.
Q4. Should I buy full hides or small leather panels when testing a new product line?
A4. Small panels can be a practical choice while you are testing a new design, leather type, and construction process. Compare supplier samples before committing to bulk hides, and test the leather with your hardware, thread, adhesive, and finishing method first.