With the surge in DIY culture and the growing appreciation for handcrafted goods, mastering leathercraft has never been more exciting or relevant. Whether you’re a seasoned artisan or just starting out, choosing the right tools can make all the difference in your projects’ quality and enjoyment.
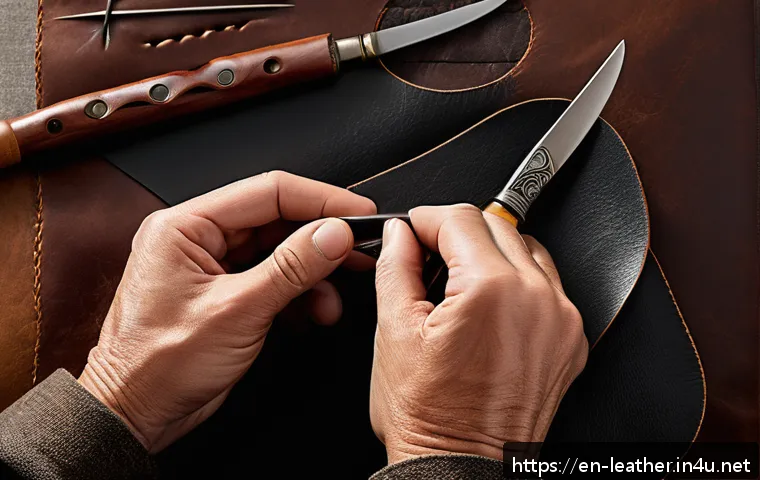
Recently, innovative leathercraft supplies have made it easier than ever to achieve professional results at home. In this post, I’ll walk you through the essential tools that every leatherworker should have, sharing tips from my own hands-on experience to help you craft like a true pro.
Stick around—you’re about to unlock the secrets that transform simple leather into stunning creations.
Choosing the Right Cutting Tools for Precision and Comfort
Understanding Blade Types and Their Uses
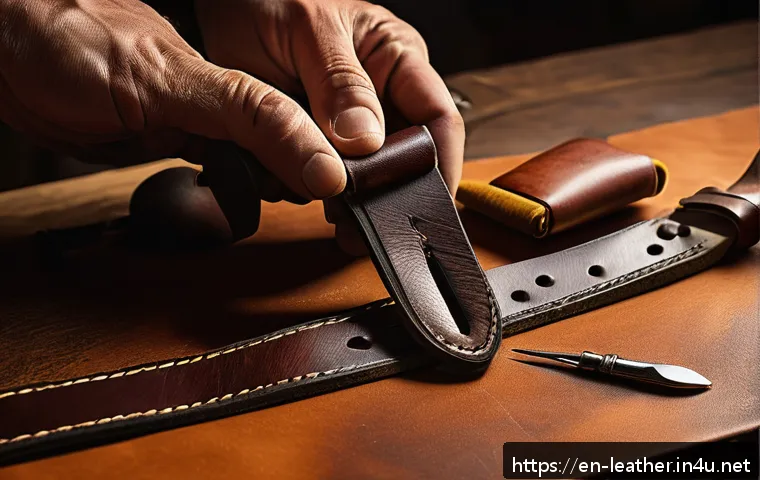
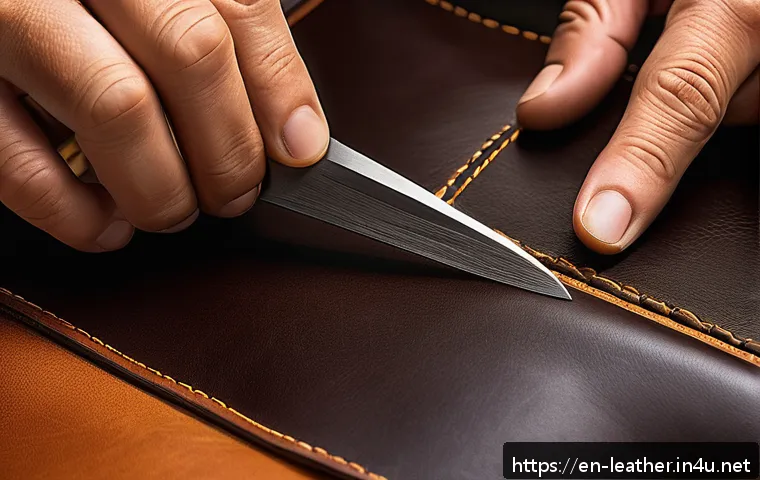
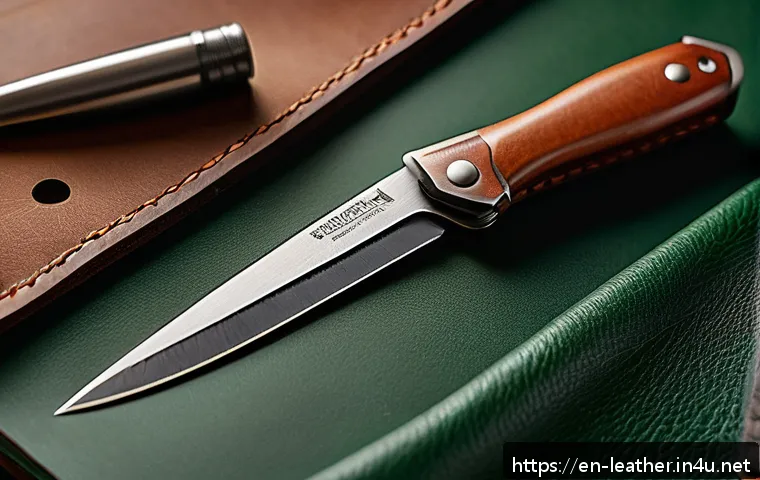
When it comes to leathercraft, the cutting tool you pick can totally change your experience and results. I used to rely on basic utility knives, but once I switched to a rotary cutter for thinner leathers and a heavy-duty strap cutter for thicker hides, my cuts became cleaner and less frustrating.
Different blades serve different purposes: swivel knives offer detailed control for intricate patterns, whereas straight-edge knives are perfect for straight, long cuts.
The key is matching the blade type to your leather thickness and project needs. Don’t overlook blade sharpness, either—dull blades not only ruin your work but can cause accidents.
Ergonomics Matter: Choosing Comfortable Handles
Leathercraft sessions can last hours, so comfort is crucial. I once ignored this and ended up with sore hands and a drop in precision. Investing in cutting tools with ergonomic handles made a huge difference.
Look for handles with a soft grip or contoured shapes that fit your hand naturally. Some brands even offer interchangeable handles, which is a nice touch if you want to customize your setup.
Comfort isn’t just a luxury; it’s a necessity for maintaining steady, accurate cuts over time.
Maintenance Tips for Long-lasting Tools
No matter how good your tools are, neglecting maintenance will shorten their lifespan. I learned this the hard way with a once-favorite blade that dulled quickly after a few uses.
Regularly sharpening your blades with the right tools and storing them in protective cases can extend their usability. For rotary cutters, changing blades at the first sign of wear keeps your cuts smooth and clean.
Also, avoid cutting on hard surfaces that can nick blades—using a self-healing cutting mat is a game-changer here.
Essential Stitching Supplies for Durable and Beautiful Seams
Choosing Between Hand Stitching and Machine Stitching
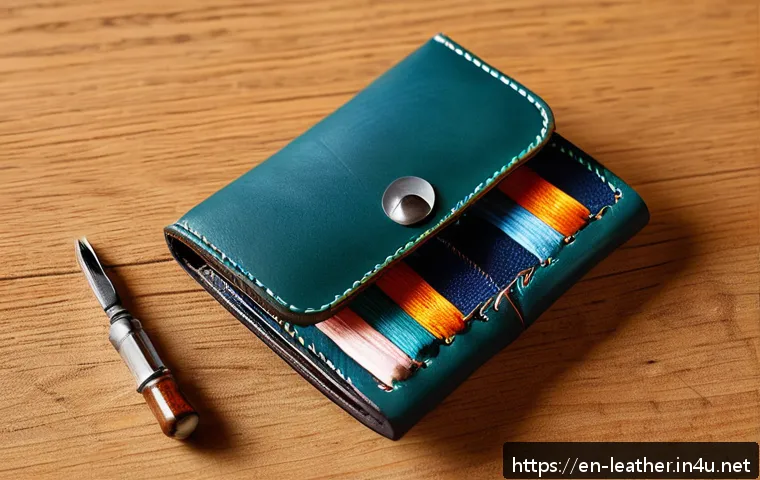
Hand stitching leather is an art in itself, offering incredible control and a unique aesthetic. I remember the first time I tried hand stitching—it was slow but deeply satisfying.
Tools like pricking irons and stitching chisels help create even holes, making the process smoother. On the other hand, sewing machines designed for leather speed up production and provide uniform stitches but require more initial investment and learning.
Your choice depends on your project size and style preference.
Picking the Right Thread and Needle
Thread choice can make or break your project’s durability. Waxed polyester thread is my go-to for most projects due to its strength and resistance to moisture.
For more delicate items, thinner nylon threads work well. Needles also vary widely—saddler’s needles are thicker and curved for hand stitching, while sewing machine needles come in sizes tailored for different leather thicknesses.
Experimenting with these helped me find the perfect match for each project, improving both appearance and longevity.
Techniques to Achieve Neat and Strong Stitches
Even with the best tools, technique rules the day. I found that consistent tension while pulling the thread and using a stitching pony to hold leather steady made a massive difference.
Learning saddle stitching, which uses two needles passing through each hole from opposite sides, creates an exceptionally strong seam that won’t unravel easily.
Patience is key here—rushing leads to uneven stitches and weak points.
Mastering Edge Finishing for a Professional Look
Understanding Different Edge Treatments
Edges can either elevate your leatherwork or make it look unfinished. I used to neglect edge finishing until I realized how much it impacts the final feel.
Techniques include sanding, beveling, burnishing, and applying edge paint or wax. Sanding smooths rough edges, while beveling rounds them off for a softer look.
Burnishing, which involves rubbing the edges with a slicker or bone folder, seals and polishes the edge, giving it that smooth, glossy finish you see in high-end goods.
Tools and Materials for Effective Edge Work
For burnishing, I rely on wooden slickers and canvas cloths. Some crafters swear by using gum tragacanth or beeswax as a burnishing agent to add shine and protection.
Edge bevelers come in various sizes, so picking one suited to your leather thickness helps create consistent profiles. When applying edge paint, thin layers with a fine brush work best to avoid drips and unevenness.
These tools are inexpensive but transform your projects from good to gallery-worthy.
Common Mistakes to Avoid
One rookie mistake I made was skipping the sanding step before burnishing, which left edges looking rough and uneven. Another is over-applying edge paint, causing it to peel or crack over time.
Patience and layering are essential—thin, multiple coats always win over one thick application. Also, always test your edge treatments on scrap leather first to prevent surprises.
Organizing Your Workspace for Efficiency and Creativity
Setting Up a Dedicated Leathercraft Station
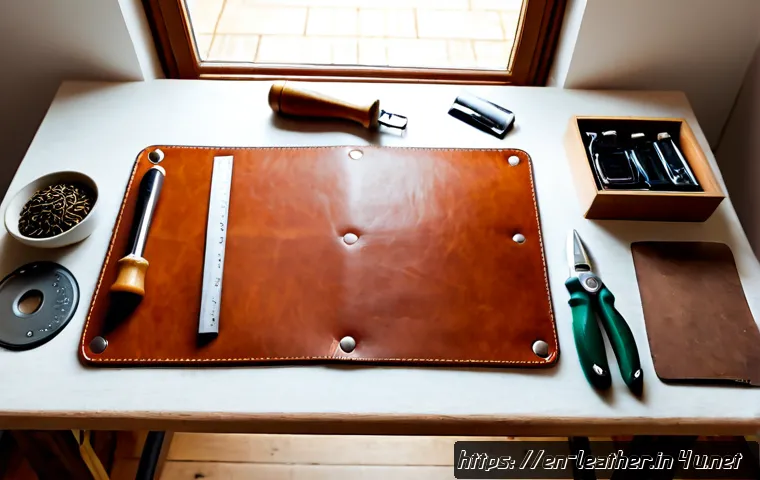
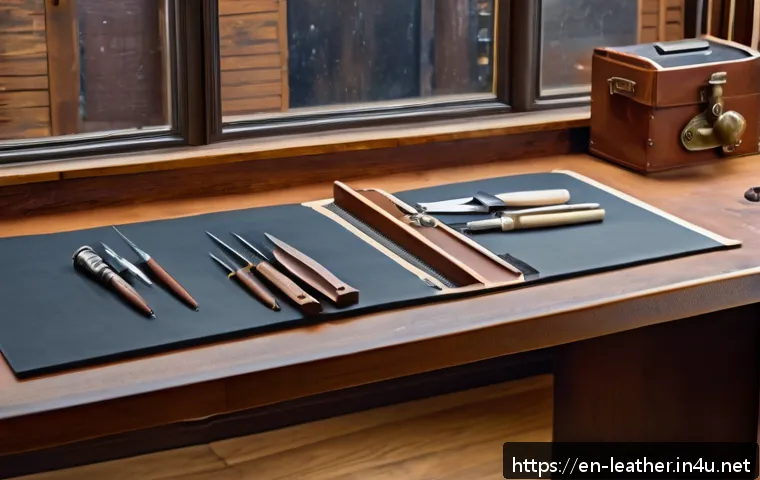
When I first started, I worked in a cramped corner and constantly misplaced tools. Creating a dedicated workspace with proper lighting, storage, and a sturdy workbench transformed my workflow.
Having everything within arm’s reach reduces frustration and keeps your creative flow going. Consider pegboards for hanging tools, small containers for hardware, and a cutting mat to protect surfaces.
This setup not only saves time but also inspires you to dive into projects more often.
Tool Storage Solutions to Keep Things Tidy
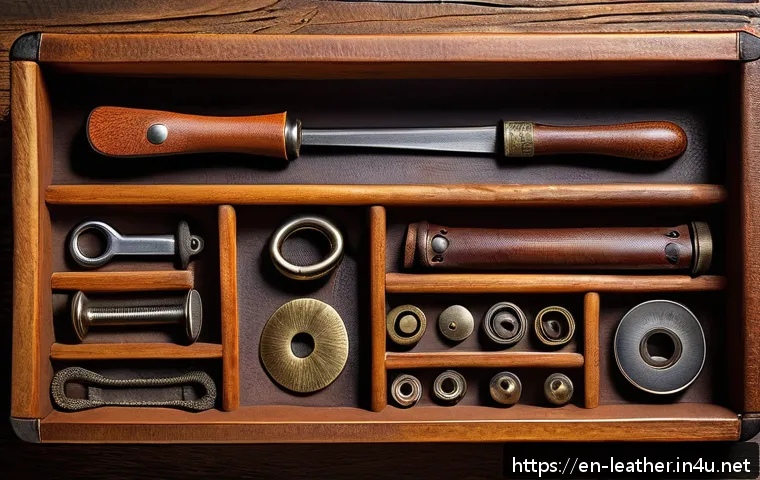
Leathercraft involves many small parts—needles, threads, rivets, snaps—and they can quickly become a mess. I found that using divided plastic organizers and magnetic trays keeps tiny items sorted and prevents loss.
Labeling these containers also saves mental energy when hunting for a specific size or color. For larger tools, wall-mounted racks or rolling carts provide flexibility and accessibility.
Maintaining Cleanliness and Tool Care
Leather dust and scraps can pile up fast, so I keep a small brush and vacuum handy to clean my workspace regularly. A clean area reduces the risk of damage to leather or tools and creates a pleasant environment to work in.
I also set aside time weekly to inspect and clean my tools, ensuring they’re always ready for the next project.
Essential Hardware and Finishing Touches for Custom Creations
Understanding Different Types of Leather Hardware
Rivets, snaps, buckles, and eyelets add functionality and style to leather goods. When I first started, I didn’t pay much attention to hardware quality, which caused some items to fail prematurely.
Choosing rust-resistant metals like brass or stainless steel can significantly improve durability. The style of hardware also influences the overall aesthetic—antique finishes add vintage charm, while polished metals offer a sleek, modern look.
Tools for Installing Hardware Properly
Installing hardware requires specific tools like setting punches, mallets, and anvil bases. I remember struggling with a cheap mallet that damaged my rivets; upgrading to a leathercraft-specific mallet made installations much easier and cleaner.
Using a sturdy anvil ensures the hardware is set firmly without warping. Practice on scrap leather is essential to avoid costly mistakes on your main piece.
Adding Personal Flair with Decorative Elements
Beyond function, hardware can be a canvas for creativity. I enjoy experimenting with decorative studs, conchos, and embossing plates to give my work unique personality.
These elements can be subtle or bold, depending on your style. Combining hardware with hand-tooling or stamping techniques creates pieces that truly stand out.
Comparing Essential Leathercraft Tools: A Handy Reference
| Tool | Purpose | Material/Type | Recommended Use | Maintenance Tips |
|---|---|---|---|---|
| Rotary Cutter | Cutting thin leather | Sharp circular blade | Precise, straight cuts on light leather | Keep blade sharp, use on cutting mat |
| Saddle Stitching Needles | Hand stitching leather | Thick, curved needles | Durable seams with saddle stitch | Clean needles, avoid bending |
| Edge Beveler | Shaping leather edges | Metal blade with rounded tip | Bevel edges for smooth finish | Sharpen periodically |
| Burnishing Tool | Polishing edges | Wood, bone, or synthetic slicker | Seal and shine edges | Clean after use, apply burnishing agent |
| Setting Punch | Installing rivets/snaps | Metal punch with hollow end | Precise hole punching for hardware | Store dry, avoid dropping |
In Conclusion
Choosing the right tools and techniques is essential for crafting leather projects that are both beautiful and durable. From selecting blades and threads to mastering edge finishing and workspace organization, every detail matters. With patience and the right approach, your leatherwork will not only look professional but also stand the test of time. Remember, investing in quality tools and proper maintenance pays off in the long run.
Helpful Tips to Keep in Mind
1. Always match your cutting tools to the thickness and type of leather to ensure clean, precise cuts without frustration.
2. Prioritize ergonomics when choosing handles to maintain comfort and control during long crafting sessions.
3. Regularly sharpen and care for your blades and tools to extend their lifespan and improve performance.
4. Experiment with stitching methods and materials to find what best suits your style and project needs.
5. Organize your workspace with dedicated storage and cleaning routines to boost efficiency and creativity.
Key Takeaways
Understanding the importance of selecting appropriate tools and maintaining them is crucial for quality leathercraft. Comfort and precision go hand in hand, so ergonomic design should not be overlooked. Proper stitching and edge finishing techniques elevate your work’s durability and aesthetics. Finally, a well-organized and clean workspace supports both productivity and inspiration, making every project more enjoyable and successful.
Frequently Asked Questions (FAQ) 📖
Q: uestionsQ1: What are the must-have basic tools for someone just starting leathercraft?
A: When I first dipped my toes into leathercraft, I found that a few key tools made all the difference. You’ll want a good-quality rotary cutter or utility knife for clean cuts, a stitching awl or pricking irons to mark holes evenly, and a sturdy mallet for setting rivets or stamps.
Don’t forget a cutting mat to protect your workspace and a ruler for precision. Starting with these basics gives you a solid foundation without overwhelming your budget or workspace.
Q: How do innovative leathercraft tools improve the crafting experience compared to traditional methods?
A: From my experience, modern leathercraft tools bring both efficiency and accuracy to the table. For example, self-healing cutting mats and ergonomic knives reduce hand fatigue, while laser-cutting tools or precision hole punches ensure consistency that’s tough to achieve by hand.
These innovations not only save time but also boost confidence, especially for beginners aiming for professional-looking results. It’s like having a secret weapon that elevates your craftsmanship.
Q: Can investing in high-quality leather tools really affect the final outcome of a project?
A: Absolutely. I’ve noticed that using high-quality tools transforms the entire process and outcome. Sharp, well-balanced knives cut cleaner edges, which means less sanding or trimming later.
Precision stitching tools create uniform holes, resulting in stronger, neater seams. Plus, durable tools last longer, so you avoid interruptions and frustration.
It’s a bit like cooking with fresh ingredients—you can tell the difference, and it makes the whole experience more enjoyable and rewarding.