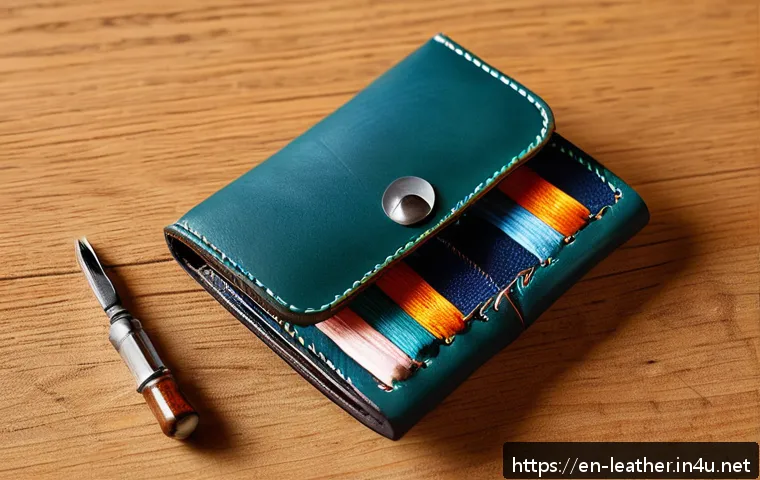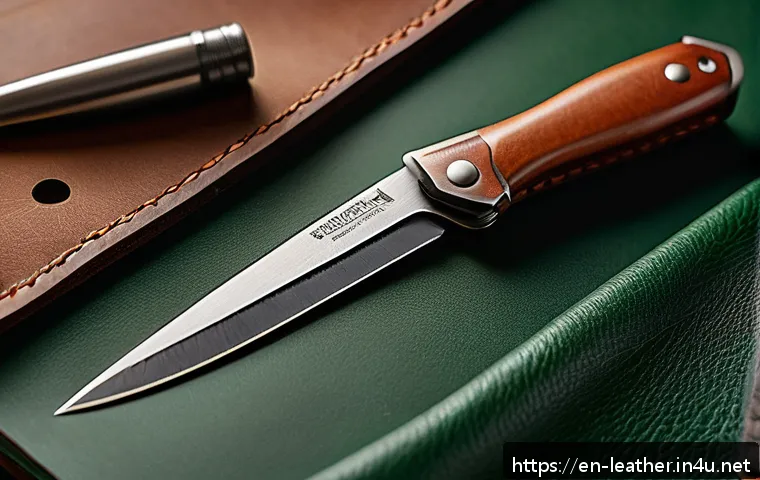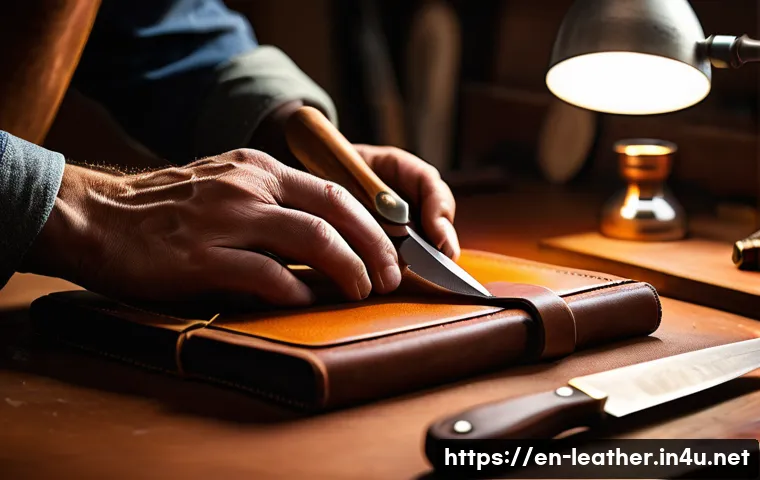
Leather carving is an art form that transforms simple hides into intricate, textured masterpieces. This craft combines creativity with precision, allowing artisans to bring unique designs to life on leather surfaces.
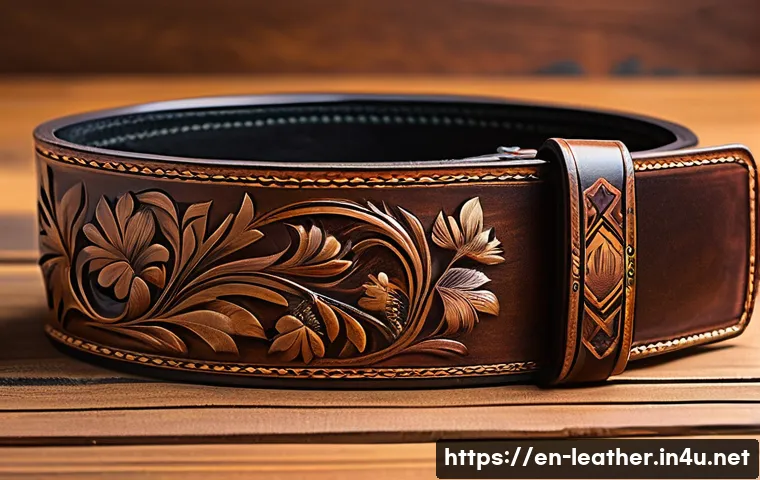
Whether you’re making personalized wallets, belts, or decorative pieces, mastering carving techniques adds depth and character to your work. Exploring these skills opens up endless possibilities for customization and expression.
Ready to dive deeper? Let’s uncover the secrets of leather carving together!
Choosing the Right Leather for Your Projects
Understanding Leather Types and Their Suitability
When you’re starting a leather carving project, the type of leather you pick can make or break your experience. Vegetable-tanned leather is the go-to choice for carving because it’s firm yet pliable enough to hold impressions well.
Unlike chrome-tanned leather, which tends to be softer and less responsive to tooling, vegetable-tanned hides react beautifully to stamping and cutting.
I’ve tried both for carving and found that the vegetable-tanned variety not only carves deeper but also ages with a richer patina, which adds character over time.
So if you want your designs to pop and last, this leather is your best friend.
Thickness Matters: Balancing Flexibility and Durability
Thickness plays a big role in how your leather behaves during carving. Thicker hides (around 8-10 oz) offer a sturdy surface that holds detailed impressions without tearing, but they can be a bit tougher to work with and require more force.
On the flip side, thinner leathers (around 4-6 oz) are easier to manipulate but might not give you the depth or durability you want for intricate designs.
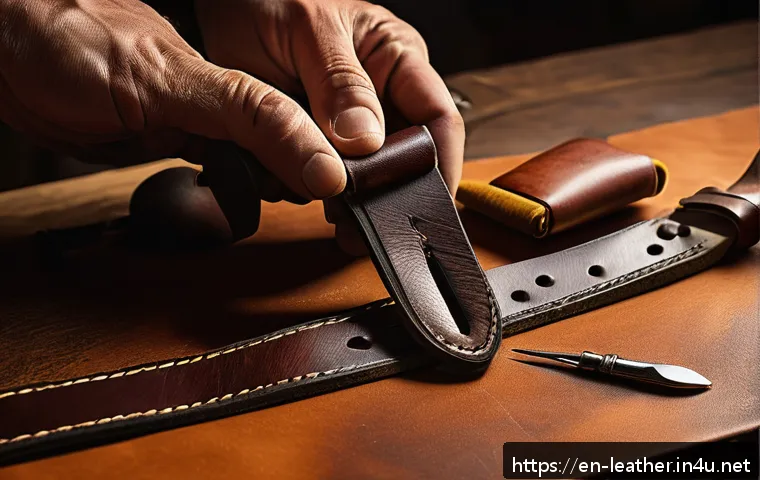
From personal experience, I usually aim for medium thickness, about 7-8 oz, because it strikes a sweet spot—allowing detailed carving while keeping the leather flexible enough for practical items like wallets or belts.
Preparing Leather for Carving: Conditioning and Dampening Tips
Before even picking up your tools, prepping your leather is key. I always dampen my leather with a sponge or spray bottle until it’s evenly moist but not soaking wet.
This makes the surface more receptive to carving tools, allowing cleaner, crisper cuts. Over time, I’ve noticed that uneven dampening can cause inconsistent impressions and sometimes even cracking.
Conditioning your leather with a light application of leather balm or conditioner after carving also helps maintain its suppleness and protects the carved designs from drying out or fading.
It’s a simple step that pays off in longevity.
Essential Tools for Mastering Leather Detailing
Exploring Basic Carving Tools and Their Uses
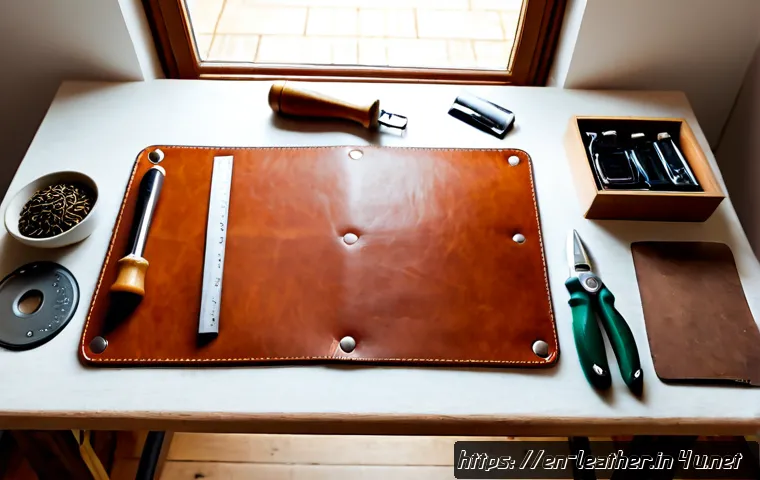
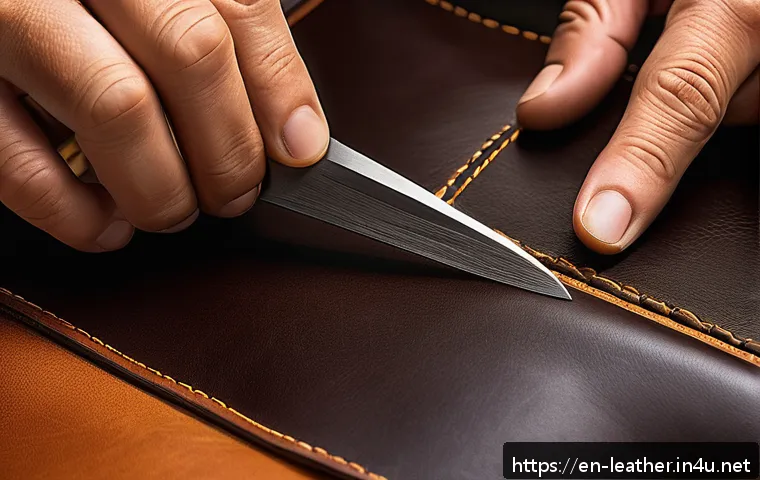
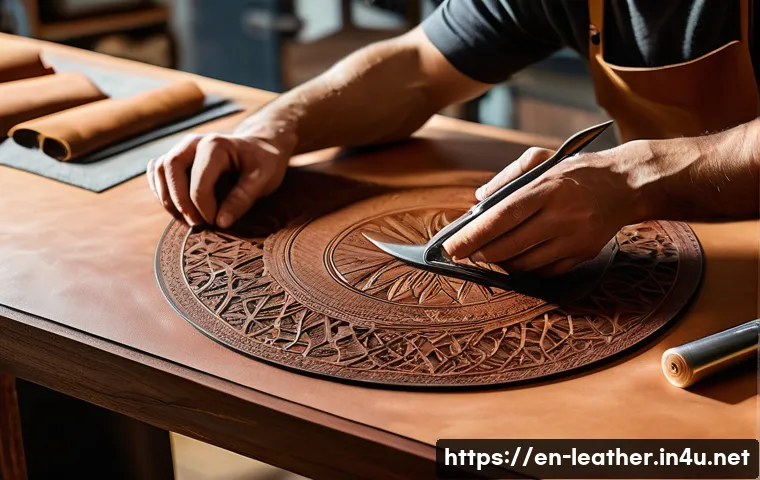
Leather carving requires a specific set of tools to bring your designs to life. The swivel knife is the cornerstone—it lets you create clean, precise cuts that form the foundation of your artwork.
I remember when I first started, mastering the swivel knife felt like learning to write all over again; your control over it directly influences the quality of your carving.
Alongside that, bevelers add depth by shading edges, while veiners and seeders bring texture and dimension. Having a well-rounded toolkit is essential because each tool contributes a unique effect that makes your design stand out.
Maintaining Your Tools for Consistent Performance
One thing many beginners overlook is tool maintenance, but trust me, dull tools will turn your project into a frustrating experience. I make it a habit to sharpen my swivel knives and other tools regularly using fine whetstones or strops.
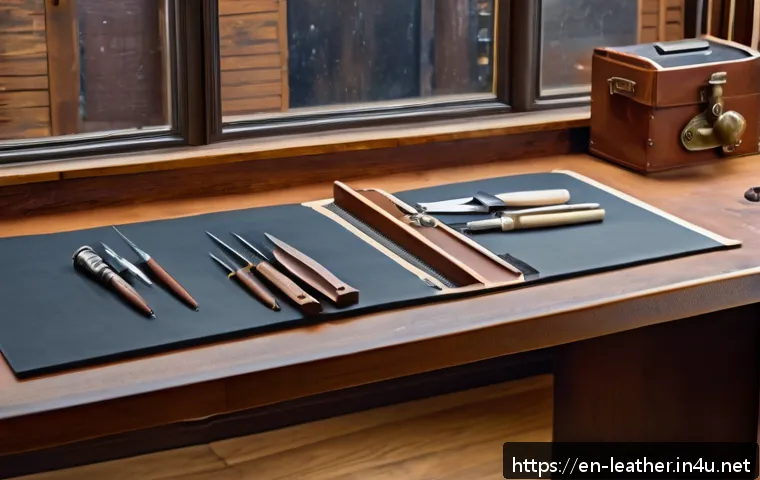
It’s amazing how much smoother and cleaner your cuts get when your tools are razor-sharp. Plus, proper storage—like keeping them in a padded case—prevents damage and extends their lifespan.
Taking these small steps ensures your carving sessions are efficient and enjoyable.
Investing in Advanced Tools for Professional Results
Once you’re comfortable with the basics, adding specialized tools like camouflage tools or backgrounders can elevate your work to the next level. These tools help fill in spaces and create contrast, making your carved images more dynamic.
I splurged on a few advanced tools after a year of practice, and the difference was night and day. Suddenly, my leather pieces had a professional polish that clients noticed immediately.
It’s a worthwhile investment if you’re serious about refining your craft.
Techniques to Bring Your Leather Designs to Life
Mastering the Swivel Knife for Sharp, Clean Lines
The swivel knife technique is the backbone of leather carving. Controlling the angle and pressure is crucial to avoid jagged edges or uneven depths. I’ve found that practicing on scrap leather before working on your main piece is invaluable.
When I first started, I struggled with shaky lines, but gradually, I learned to steady my hand and adjust my grip to achieve smooth, flowing cuts. Remember, patience is key—rushing leads to mistakes that are hard to fix.
Beveling for Depth and Dimension
After cutting your design, beveling is what turns a flat image into a textured masterpiece. Using bevelers to press down edges creates shadows and highlights that give the illusion of depth.
When I bevel, I vary the pressure depending on the part of the design—heavier pressure for foreground elements and lighter for background details. This technique really makes the design “pop” and adds an artistic flair that’s unmistakable.
It’s one of my favorite steps because it transforms the leather into something almost sculptural.
Adding Texture with Backgrounding and Stamping
To make your carving stand out even more, backgrounding tools add texture behind your main design elements. I often use a matting tool or pebble background to create contrast, which makes the carved parts look sharper by comparison.
Stamping tools can also add decorative accents or patterns to fill empty spaces. These techniques not only enhance the visual appeal but also provide tactile interest.
Personally, I love running my fingers over finished pieces that have rich textures—it’s like the leather tells a story through touch.
Coloring and Finishing Techniques to Enhance Your Artwork
Choosing the Right Dye or Paint for Your Leather
Adding color is where your carved leather really comes alive. I prefer oil-based dyes because they soak into the leather and maintain flexibility without cracking.
Water-based dyes are easier to clean up but sometimes feel less durable. When I experimented with acrylic paints, I found they offer vibrant colors but can stiffen the leather if applied too thickly.
Your choice depends on the project’s purpose—wearables like belts need more flexible finishes, while decorative pieces can handle heavier coatings.
Applying Finishes to Protect and Beautify
Sealing your work with a finish not only protects it from moisture and wear but also enhances the color depth. I usually apply a few thin layers of a matte or satin finish spray, letting each dry thoroughly.
Glossy finishes look stunning but can highlight imperfections, so I reserve those for flawless pieces. Over the years, I’ve learned that proper finishing extends the life of your carving and keeps the leather looking fresh and vibrant for years.
Blending Colors for Realistic Effects
For more advanced projects, blending different shades adds realism and complexity. I mix dyes on a palette and use small brushes or sponges to create gradients or shadow effects.
It’s a bit like painting on canvas, but the leather’s texture gives your work a unique twist. When I first tried blending, it felt challenging, but with practice, it became one of my favorite ways to personalize pieces.
This technique is especially effective for floral or animal motifs where subtle color variations bring the design to life.
Common Challenges and How to Overcome Them
Preventing Cracks and Tears During Carving
Leather carving can be unforgiving if you’re not careful. One of the most common issues is cracking or tearing, usually caused by overly dry leather or too much pressure.
I learned the hard way that keeping your leather properly dampened and using lighter strokes helps prevent damage. If you do notice a small crack, sometimes gently conditioning the area can help soften and hide it.
Patience and gentle handling go a long way in avoiding these setbacks.
Fixing Mistakes Without Starting Over
Nobody’s perfect, and leather carving mistakes happen to the best of us. When I accidentally cut too deep or off-line, I try to incorporate the error into the design by adding extra shading or texture around it.
In some cases, patching with a small leather piece or using paint to mask the area works well. Learning to adapt and improvise rather than scrapping a whole piece has saved me time and materials.
It’s part of the creative process that teaches resilience.
Dealing with Tool Slips and Uneven Impressions
Slipping tools can ruin a detailed design in seconds. To minimize this, I always make sure my hands and tools are dry and my workspace stable. Practicing steady hand movements and controlling your tool’s angle is essential.
When uneven impressions occur, sometimes going over the area lightly with a backgrounding tool can help balance the texture. I’ve found that slowing down and focusing on precision rather than speed helps me avoid these mishaps.
Comparing Carving Techniques: Traditional vs Modern Approaches
Hand Tooling: The Classic Craftsmanship
Traditional leather carving relies heavily on hand tooling, which demands patience and skill. This method offers unmatched control over detail and depth, allowing for truly personalized artistry.
When I first started, I admired the tactile connection this approach provides—each impression feels intentional and alive. Though time-consuming, hand tooling creates pieces with a timeless, handcrafted quality that machine techniques often lack.
Laser Engraving: The Modern Alternative
In recent years, laser engraving has emerged as a popular method for leather decoration. It offers precision and speed, making it ideal for mass production or intricate patterns that would take hours by hand.
While I appreciate the efficiency, I feel laser engraving lacks the warmth and depth that hand carving imparts. The textures are flatter, and the leather’s natural character is often subdued.
For personalized gifts or art, I still prefer the hand-carved touch.
Combining Both Methods for Unique Results
Some artisans are now blending traditional carving with laser techniques to maximize creativity. For example, laser engraving can outline complex designs quickly, which are then enhanced by hand tooling for depth and texture.
I’ve tried this hybrid approach on a few projects and was pleasantly surprised by the results—the laser provides sharp precision while hand carving adds soul.
It’s an exciting way to embrace technology without losing the craft’s essence.
| Technique | Advantages | Disadvantages | Best Use Cases |
|---|---|---|---|
| Hand Tooling | High detail, textured depth, personal touch | Time-consuming, requires skill | Custom art, unique gifts, fine craftsmanship |
| Laser Engraving | Fast, precise, consistent patterns | Flatter texture, less tactile warmth | Mass production, intricate repetitive designs |
| Hybrid Approach | Combines speed with artistic depth | Requires access to laser equipment and tooling skills | Complex designs needing both precision and texture |
Wrapping Up
Choosing the right leather and mastering carving techniques can truly elevate your craft. With patience and the proper tools, your projects will not only look professional but also last for years. Remember, every mistake is a chance to learn and grow as an artisan. Keep experimenting and enjoy the creative journey!
Useful Tips to Keep in Mind
1. Always select vegetable-tanned leather for carving to achieve crisp, lasting designs.
2. Maintain a balanced leather thickness—around 7-8 oz—for the best mix of flexibility and durability.
3. Properly dampen and condition your leather before and after carving to avoid cracks and preserve your work.
4. Regularly sharpen and care for your tools to ensure smooth, precise cuts every time.
5. Experiment with blending dyes and finishes to add depth and personality to your leather pieces.
Key Takeaways for Successful Leather Carving
Understanding the characteristics of different leather types and thicknesses is essential to create detailed, durable carvings. Preparing your leather correctly by dampening and conditioning helps prevent damage and improves tool responsiveness. Investing time in tool maintenance and gradually expanding your toolkit will enhance the quality of your work. Embracing both traditional hand tooling and modern laser engraving techniques can provide unique results, but the heart of leather carving lies in skillful, patient craftsmanship. Above all, staying patient and adaptable transforms challenges into opportunities for creative growth.
Frequently Asked Questions (FAQ) 📖
Q: What tools do I need to start leather carving as a beginner?
A: To get started with leather carving, you’ll want to have a few essential tools on hand. A swivel knife is key—it allows you to cut precise lines into the leather.
Alongside that, bevelers, pear shaders, and backgrounders help add depth and texture to your design. Don’t forget a mallet to tap your tools gently and a piece of vegetable-tanned leather, which is best for carving.
Personally, I found that investing in a quality swivel knife made a huge difference in my control and detail work right from the start.
Q: How do I prepare leather before carving to ensure the best results?
A: Preparing your leather properly is crucial to getting clean, sharp carvings. The leather should be dampened, but not soaked—think of it like a wrung-out sponge.
This process, called casing, softens the leather fibers, making it easier to cut and stamp. I usually spray the leather lightly with water and let it rest for about 10 minutes.
If it’s too wet, your cuts won’t hold well; too dry, and the leather becomes tough to work with. Finding that perfect moisture balance was a game-changer in my early projects.
Q: How can I improve my leather carving skills over time?
A: Like any craft, practice and patience are your best friends when it comes to leather carving. Start with simple patterns and gradually work your way to more complex designs.
Watching tutorials and joining leatherworking communities can provide valuable tips and feedback. I also recommend experimenting with different tools and leather types to see what suits your style best.
Over time, you’ll develop a steadier hand and a better eye for detail. Remember, every mistake is just another step toward mastering this beautiful art form.